A trip to the mountains! I recently took a short trip to the mountains in Virginia with my family...it was so much fun and we got to see and do some awesome things! I figured I would share it on the blog! The mountains are such a relaxing and beautiful place! If you get a chance to go soon, go exploring and take in the gorgeous scenery. We had the opportunity to see some amazing skies and landscapes. 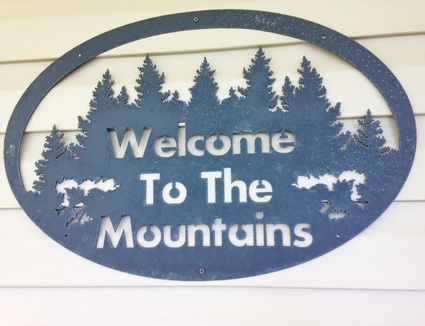 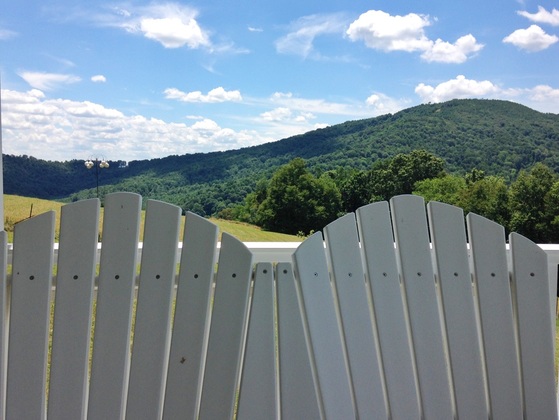 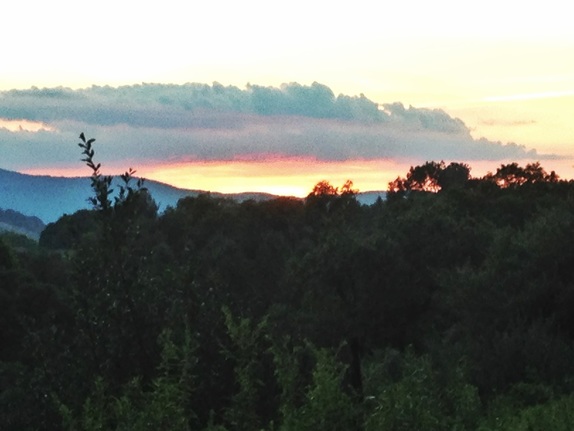 We got to ride around the area and explore some. One thing we were able to do was pick wild raspberries. These are a type of raspberry called "wine raspberries" or "wineberries." These things are delicious, y'all. They're great just plain, on pancakes, in a pie, and more. 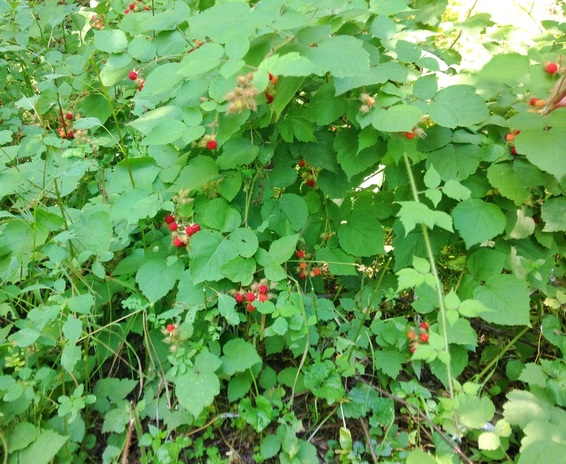 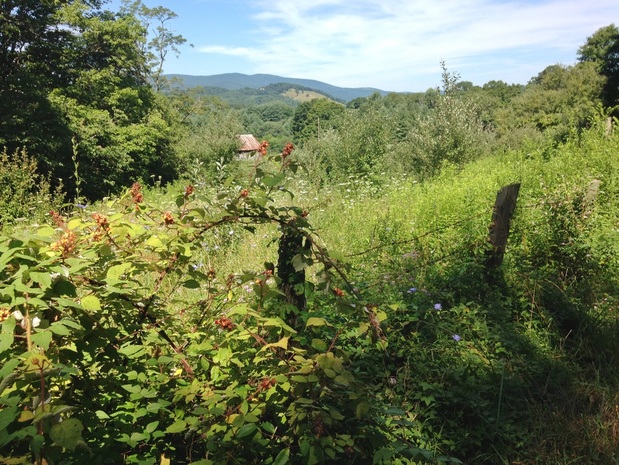 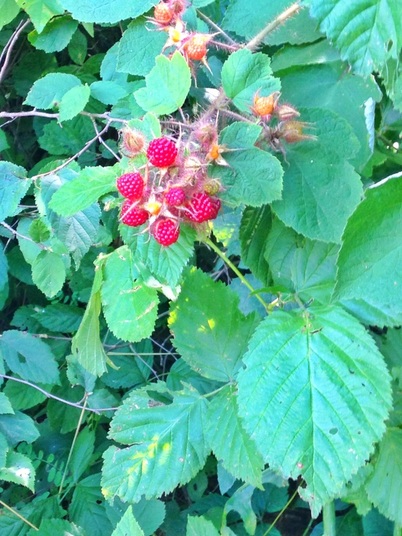 We picked a ton of these! 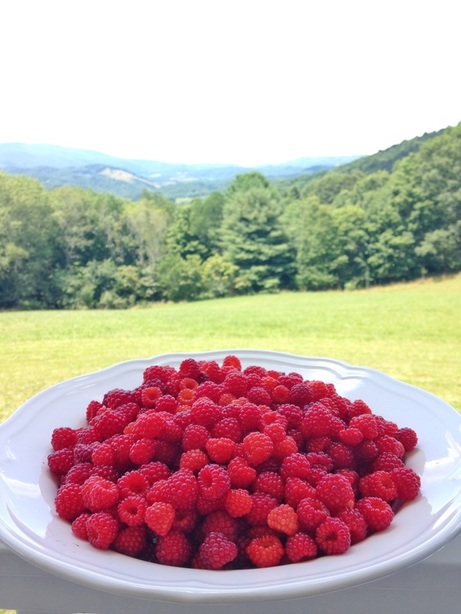 We found some wild blackberries which also taste awesome. These are great in pies, cobblers, oatmeal, etc. 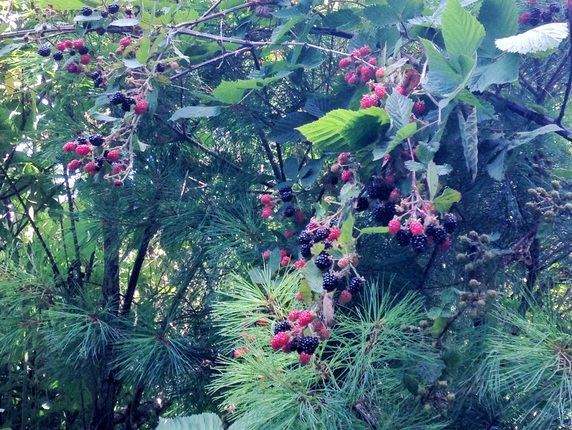 While we were riding around outside, we saw some more beautiful scenery AND we found some stunning wildflowers growing on the roadsides! 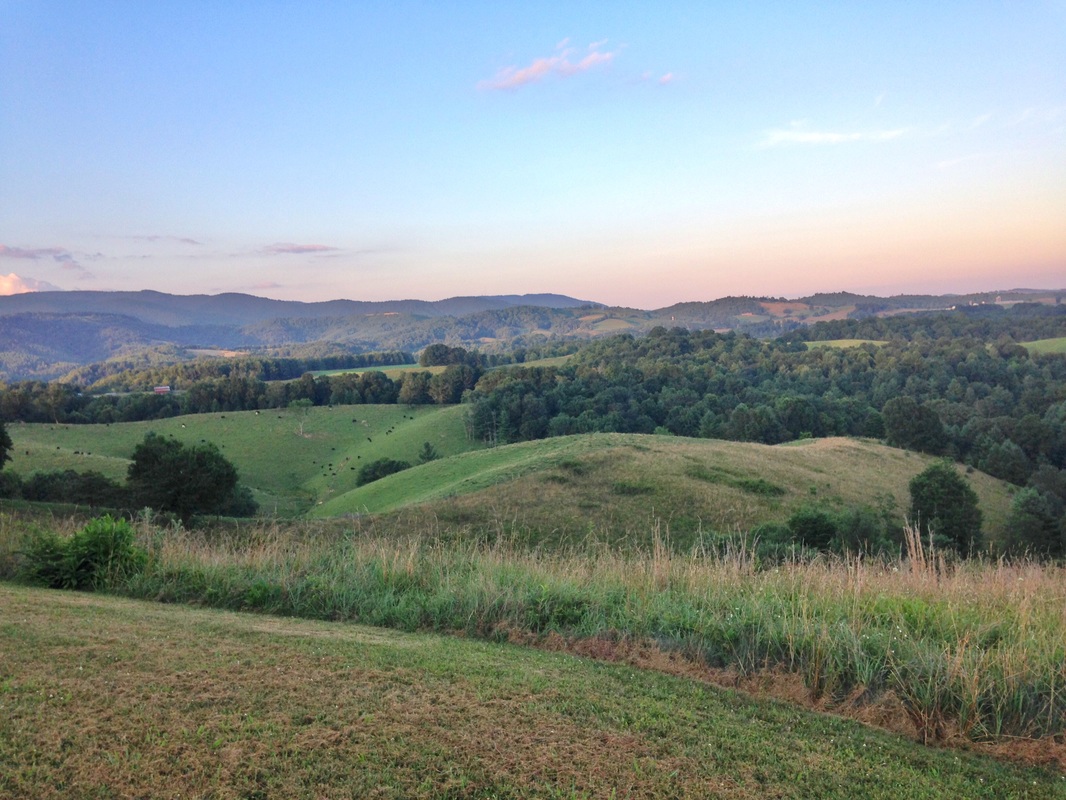 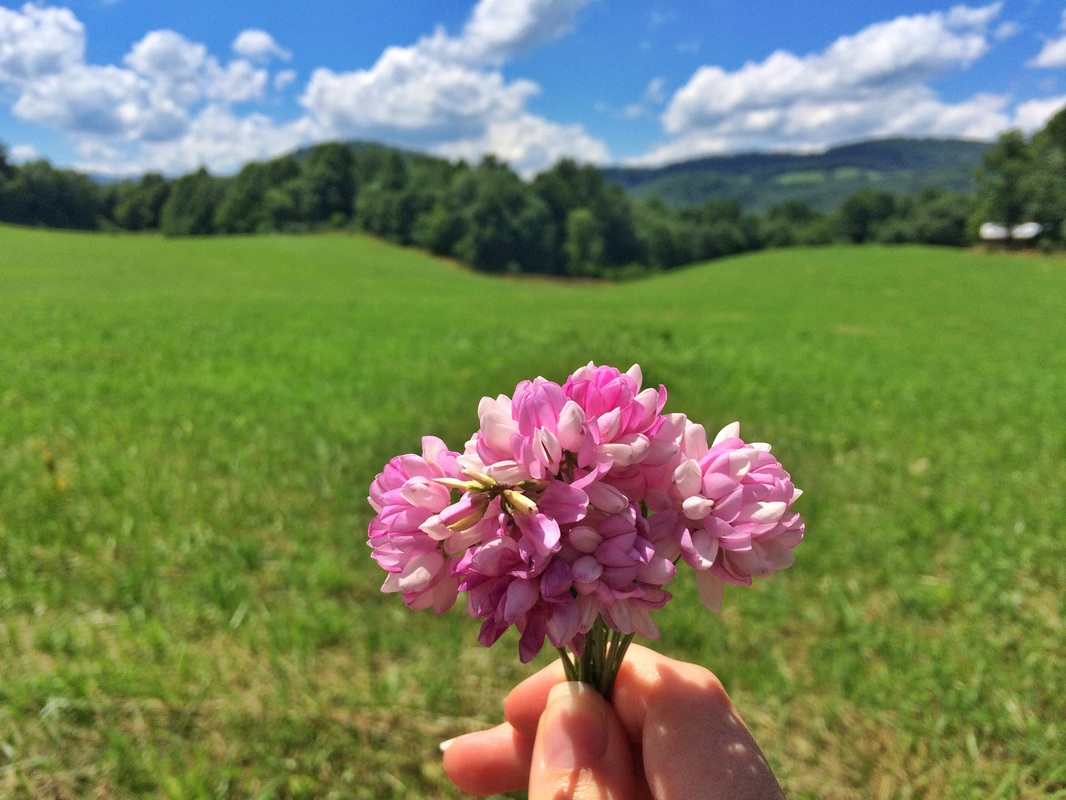 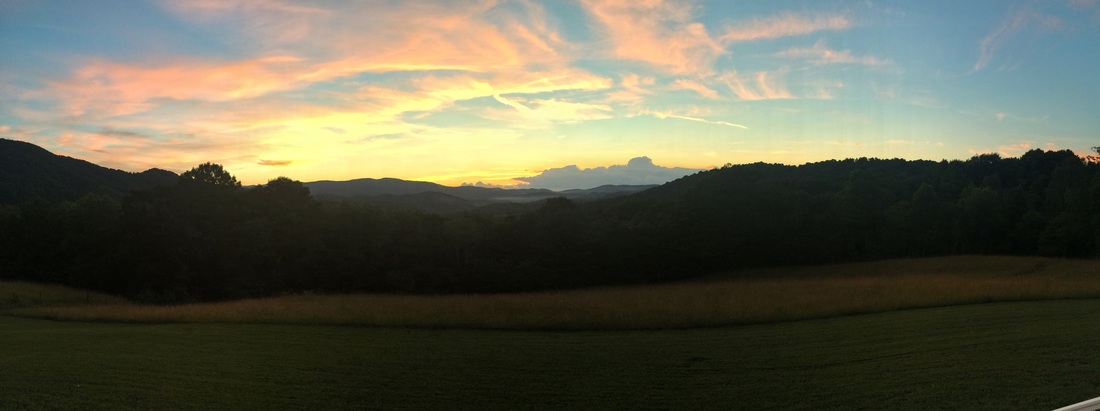 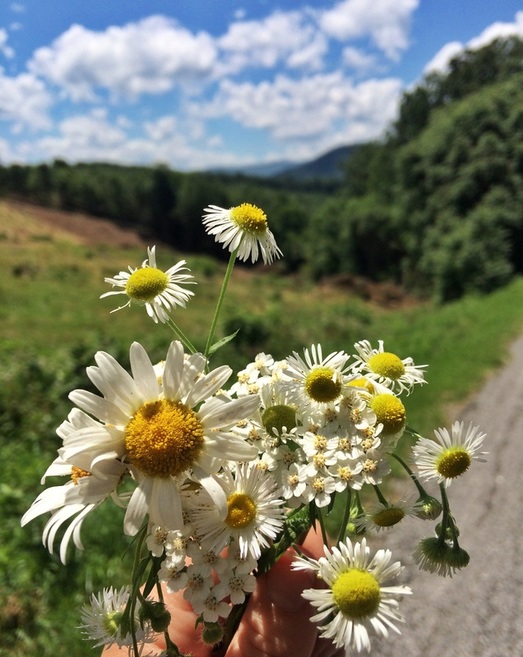 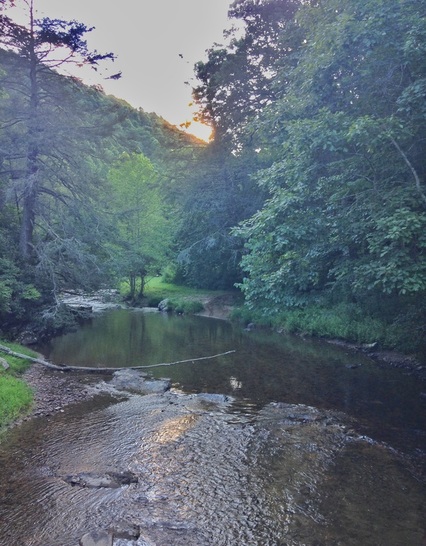 I collected some of these wildflowers and made them into an arrangement. I put them in an antique blue Mason jar! 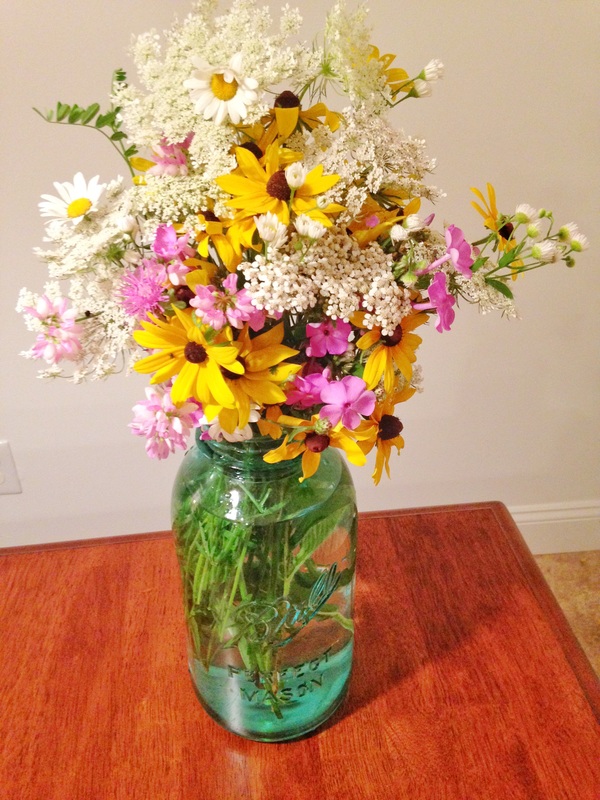 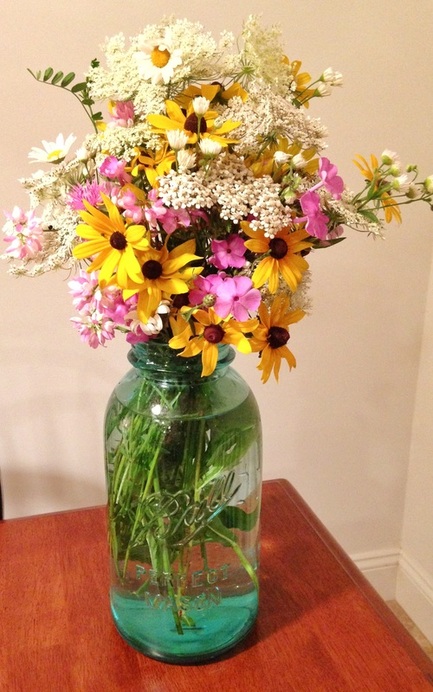 It was such a relaxing trip filled with breathtaking views and fun! 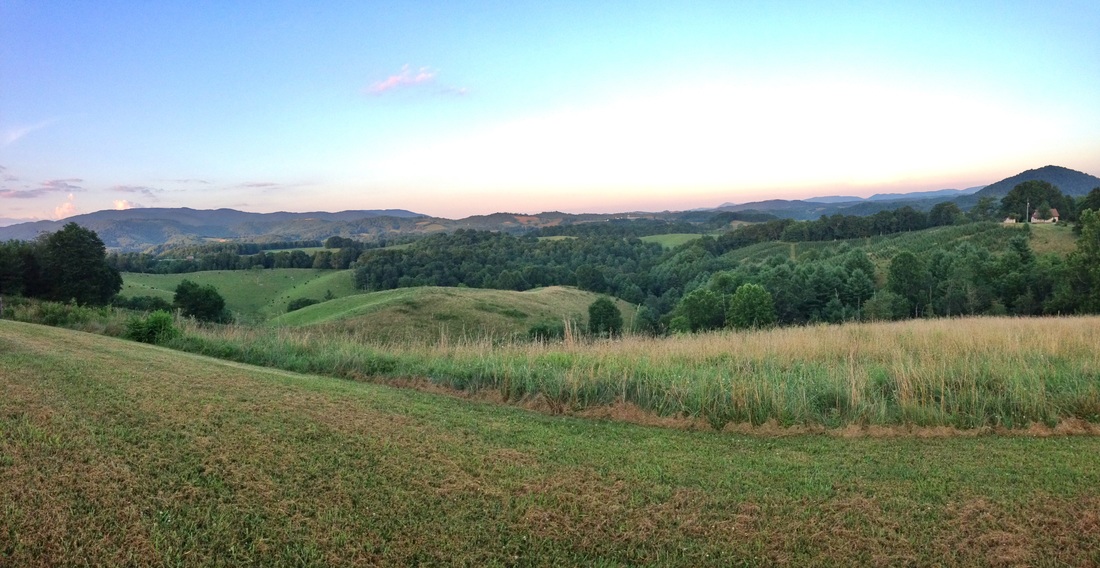 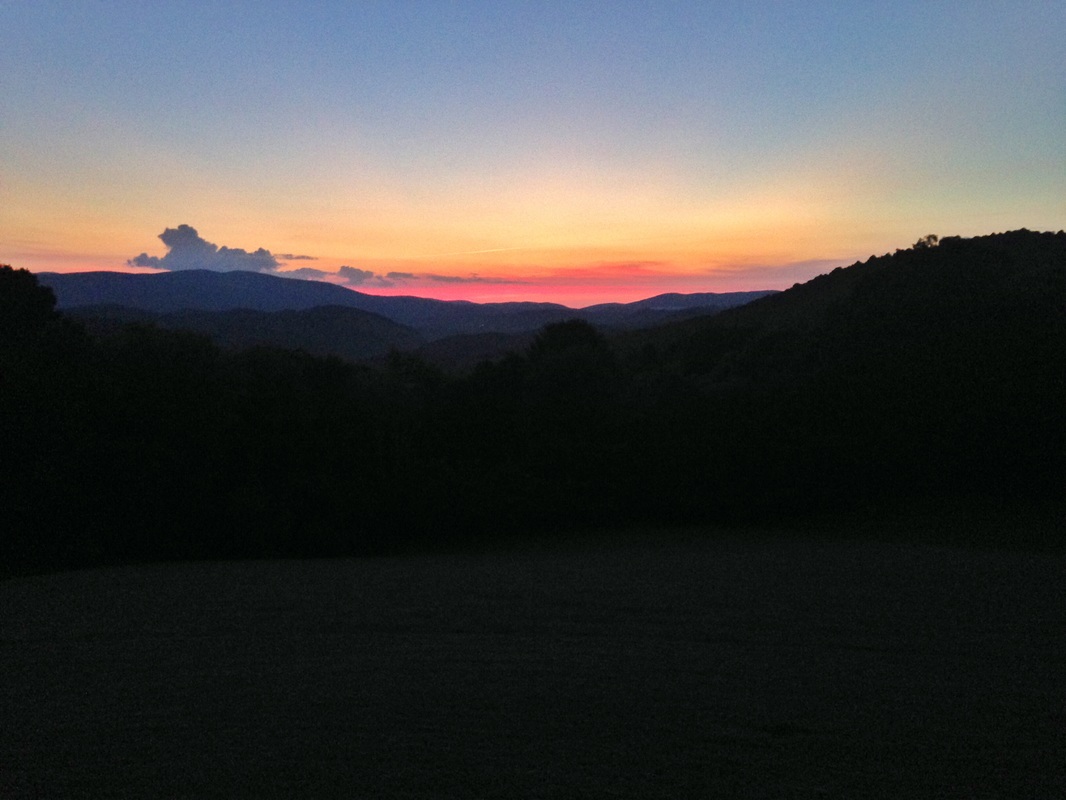
0 Comments
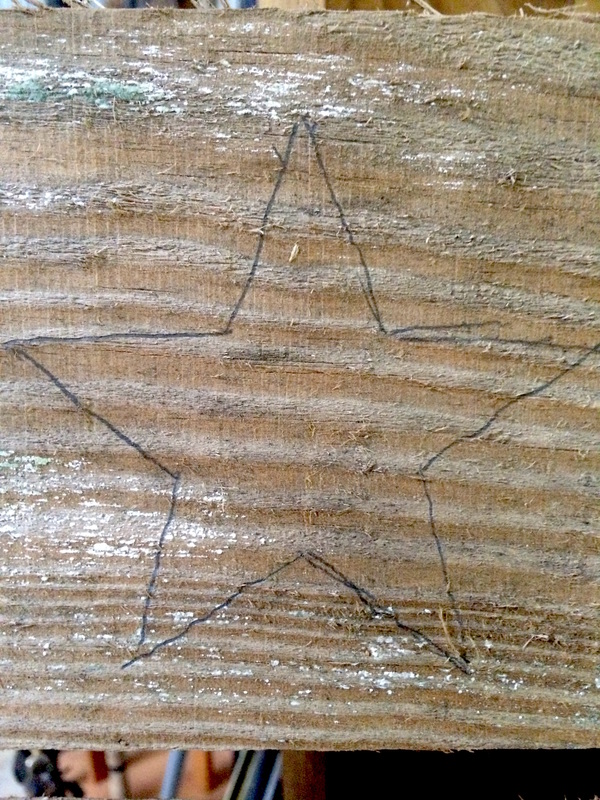
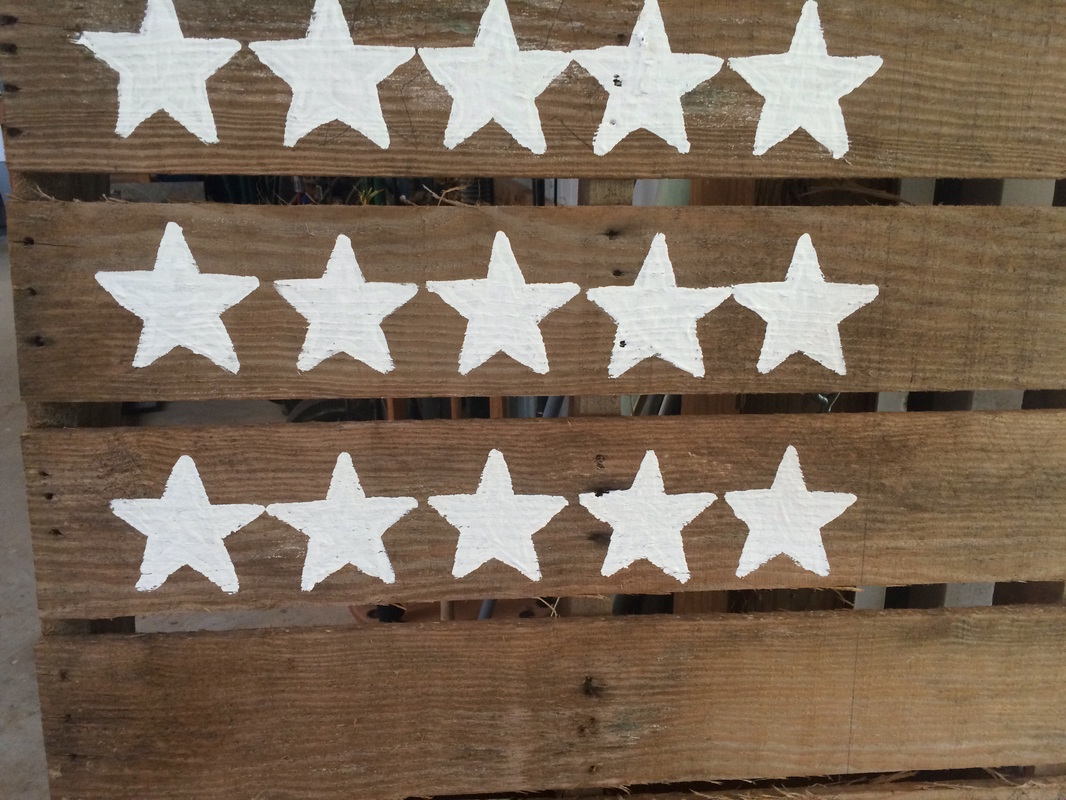
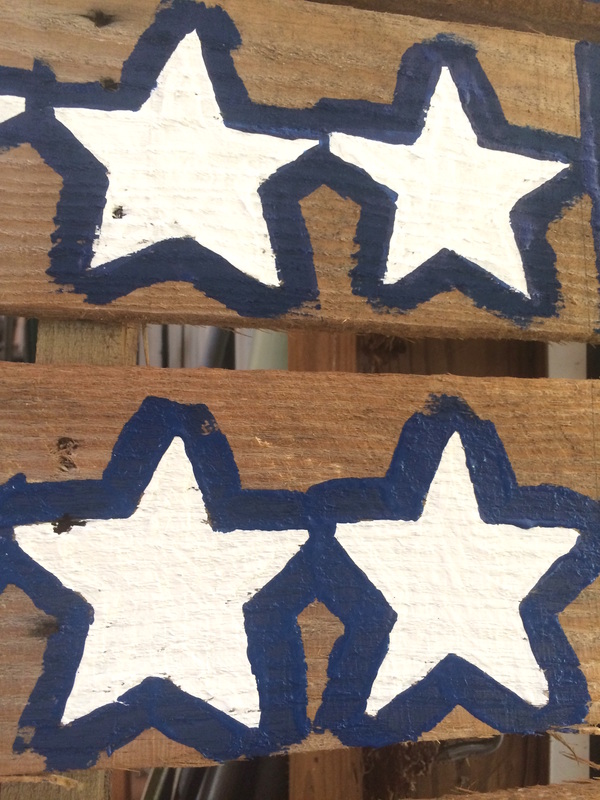
Great for a summertime dinner!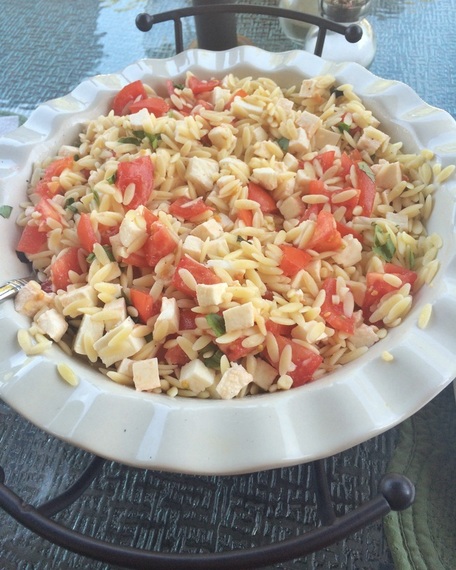  Recently I tried out a few new recipes for dinner. They are really fresh and great for a summertime dinner inside or out on the patio (if it happens to be cool enough!). I finally decided to try out these two dishes that I found on Pinterest. Both recipes are a twist on caprese salad...and they were both delicious! Hope y'all enjoy! First, I made Caprese Stuffed Chicken Foil Packs...this recipe is from The Wholesome Dish (you can find their website here). This recipe makes 2 servings. I tripled the recipe for what is pictured in the photo. Below is the recipe for 2 servings. Ingredients: 2 oz. fresh mozzarella pearls 1/4 cup thinly sliced fresh basil 10 cherry tomatoes, halved 2 tsp. balsamic vinegar 1/2 tsp. salt (divided) 1/2 tsp. ground black pepper (divided) 1 medium zucchini 1 medium yellow squash 1 tsp. olive oil 1/4 tsp. Italian seasoning (I just sprinkled a little oregano and a TINY bit of crushed red pepper flakes instead) 2 (6 oz.) chicken breasts Directions: Preheat oven to 400 degrees. In a small bowl, gently combine mozzarella, basil, tomatoes, vinegar, 1/4 tsp. of the salt, and 1/4 tsp. of the pepper. Set. aside. Cut ends off of zucchini. Cut in half lengthwise, then into 1/2 inch slices. Repeat with the squash. Tear off two long pieces of aluminum foil. Divide zucchini and squash between the two pieces of foil, gathering them in the middle of each sheet. Drizzle the zucchini and squash pieces with the olive oil and sprinkle the Italian (or other) seasoning. Sprinkle each with a dash of salt and pepper. Set aside. Placing one of the chicken breasts on a cutting board and covering with plastic wrap, use a mallet to pound the chicken out thin and flat (about 1/2 inch thick). Repeat with the other chicken breast. Divide the tomato mixture between the two chicken breasts, arranging it in a strip on the chicken. Roll the chicken around the filling and secure the seam with 2-3 toothpicks (I had to use more). Try to keep the toothpicks from sticking out too much so they don't break the foil (but be careful to not forget about them after they are cooked!) Place the stuffed chicken on top of the zucchini and squash piles. Sprinkle each chicken breast with salt and pepper. Bringing the longest ends of the foil up around the chicken, roll them together. Roll the other ends of the foil in, making a sealed packet. Place the packets on a large baking sheet and bake for 25 minutes, or until chicken is fully cooked. Let them cool for 5 minutes. Serve and enjoy! (I took out the stuffed chicken and put the zucchini and squash in a separate bowl for serving). 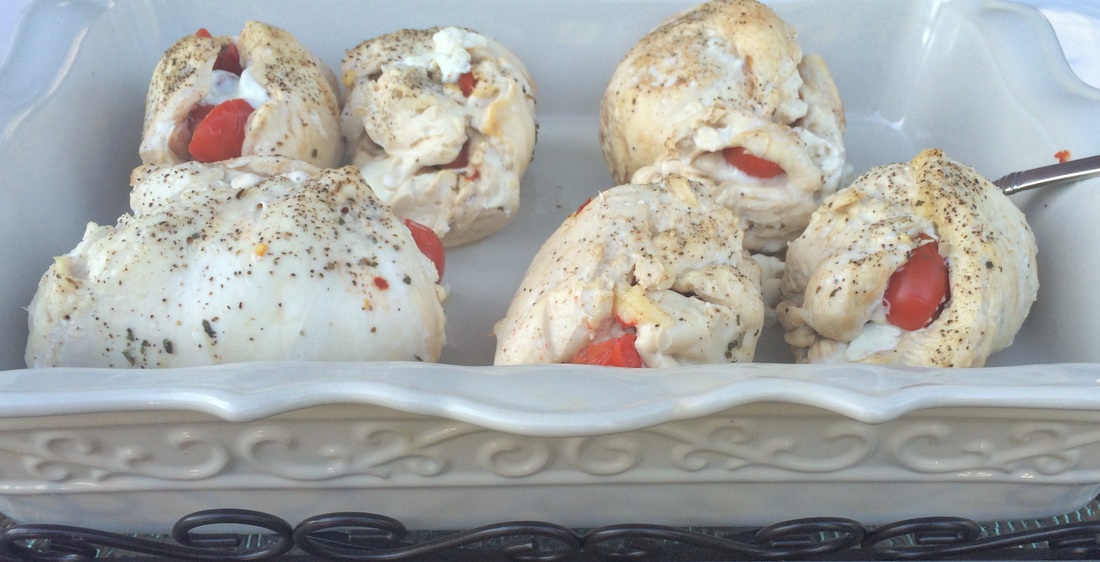 Next, I made Fresh Mozzarella Pasta Salad...this comes from Lil' Luna (you can find their website here). I loved this pasta salad...it was so fresh and tasty! Ingredients: 1 cup uncooked orzo pasta 8 oz. fresh mozzarella, cubed 2 plum tomatoes, diced 1/4 cup chopped fresh basil garlic salt, to taste (I sprinkled a little minced garlic and used sea salt) 1 Tbsp. olive oil Directions: Cook orzo as it is directed on the box. Drain and let it cool. Place pasta, tomatoes, basil, and cheese cubes in a large bowl (I used a deep dish pie plate for a pretty display). Add salt and olive oil. Gently mix until all the ingredients are coated. Serve and enjoy! (This can be served immediately but I also enjoyed it after it had chilled in the refrigerator). 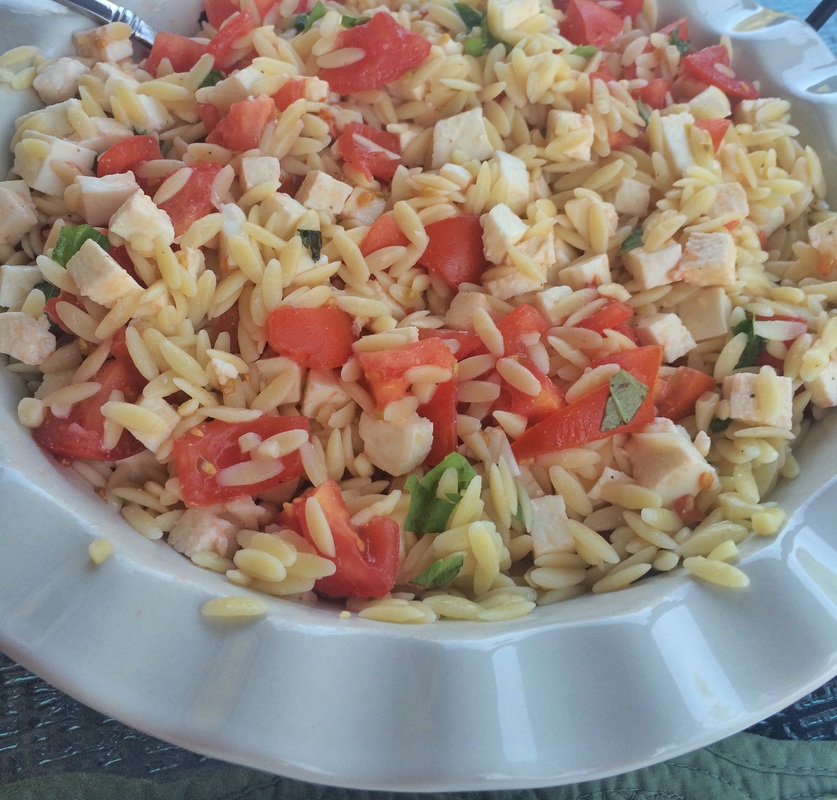 A Bridal Shower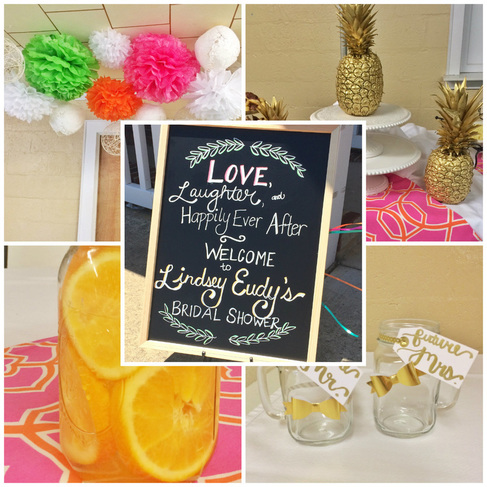 It's wedding season! My friend is getting married and I recently helped host a shower for her with several ladies. I think it turned out super cute so I decided to share it on the blog! We held the shower in a church fellowship hall...we made a simple space pretty with all the decor! She likes the color orange, so we decided to incorporate that, hot pink, and lime green for a bright, sunny, summer bridal shower! I'm looking forward to all the wedding festivities to come!  One of the things we wanted to tie into the shower was photos of the bride- and groom-to-be! I used card stock and lace paper doilies as the background for their photos. I also collected some tree branches and spray painted them rustic white. One of the ladies found an awesome, large, vintage glass jug for the branches. We tied a sparkly white tulle bow around the mouth of the jug, then used mini clothespins to anchor the photos to the branches! 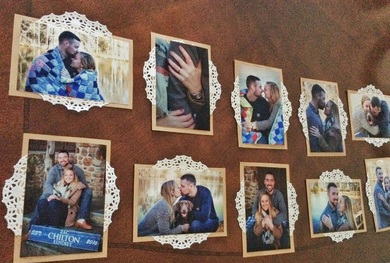 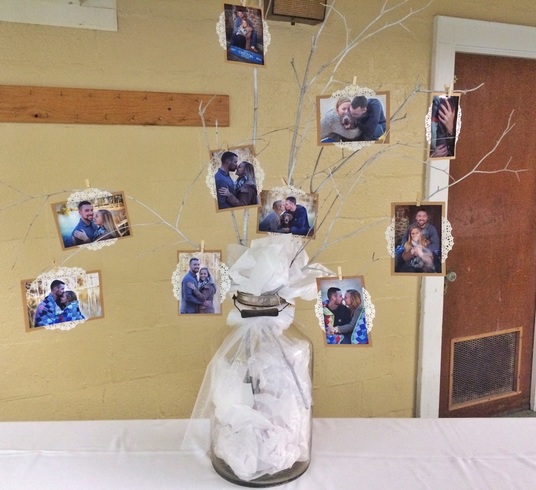 Weeks before the shower, I sewed fabric squares out of this sophisticated but fun duck fabric. It was the perfect combo of orange and pink for centerpieces on the round tables at the shower. We also used them on the buffet. 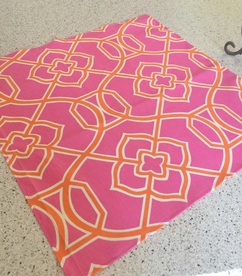 To complete the centerpieces, we filled mason jars with sliced oranges for a pretty pop of sunny color! We added a magnolia blossom to each mason jar...so southern and bridal! 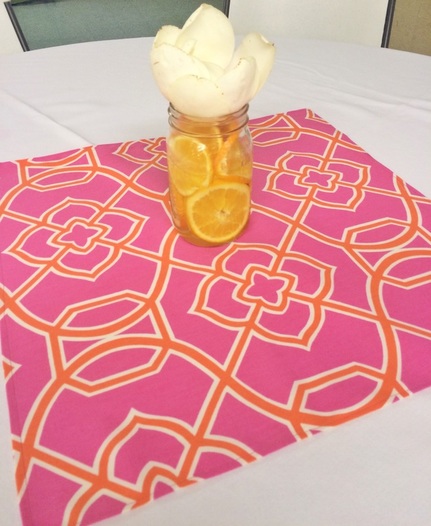  For the buffet, we used iridescent green fabric with a white tablecloth overlay. I found an idea to use a grouping of gold pineapples for the buffet centerpiece! One of the ladies helping host the shower spray painted three pineapples in gold metallic paint...they turned out to be stunning, southern, and summery! We placed one on a white cake plate to give it some height and placed the other two on either side. 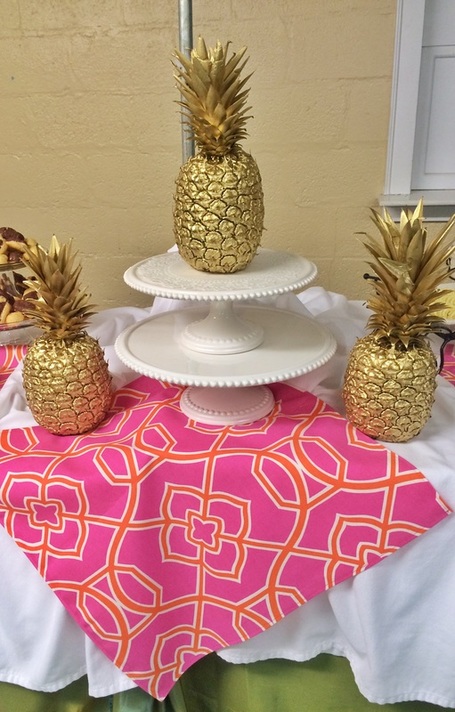 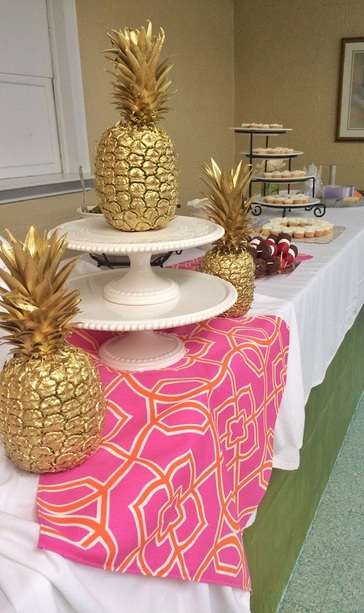 We also tried a new punch for the shower. It was delicious! The punch was the perfect color to coordinate with the shower decor too! We made and sampled the punch ahead of time to ensure that we liked it...what better way to do that than in a Lilly coozie?! :) 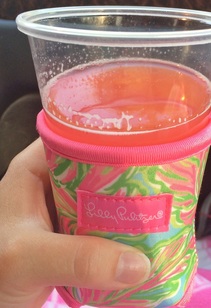 The shower guests seemed to LOVE the punch...several people asked about it, so I figured I would share the recipe on here! I found the recipe through Pinterest, from Bakingdom (you can find her blog here). Party Punch Recipe Ingredients: 3 cups water 1 cup sugar 1 3oz. package strawberry gelatin mix 24oz. pineapple juice 2 cups orange juice 1/3 cup lemon juice 2 liter bottle clear lemon-lime soda (we used Sprite) Directions: In a large saucepan, combine sugar, water, and gelatin mix. Bring to boil and cook for 2-3 mins (until all sugar is dissolved). Remove from heat. Stir in orange juice, pineapple juice, and lemon juice. Allow mixture to cool to room temperature. Pour into a freezer-safe container once cooled (we used gallon-size Ziplock bags) and place inside a large bowl. Freeze the mixture. The day you use the punch: allow mixture to thaw in sink for several hours until it is slushy. Add the clear lemon-lime soda and gently stir. Serve and enjoy! :) 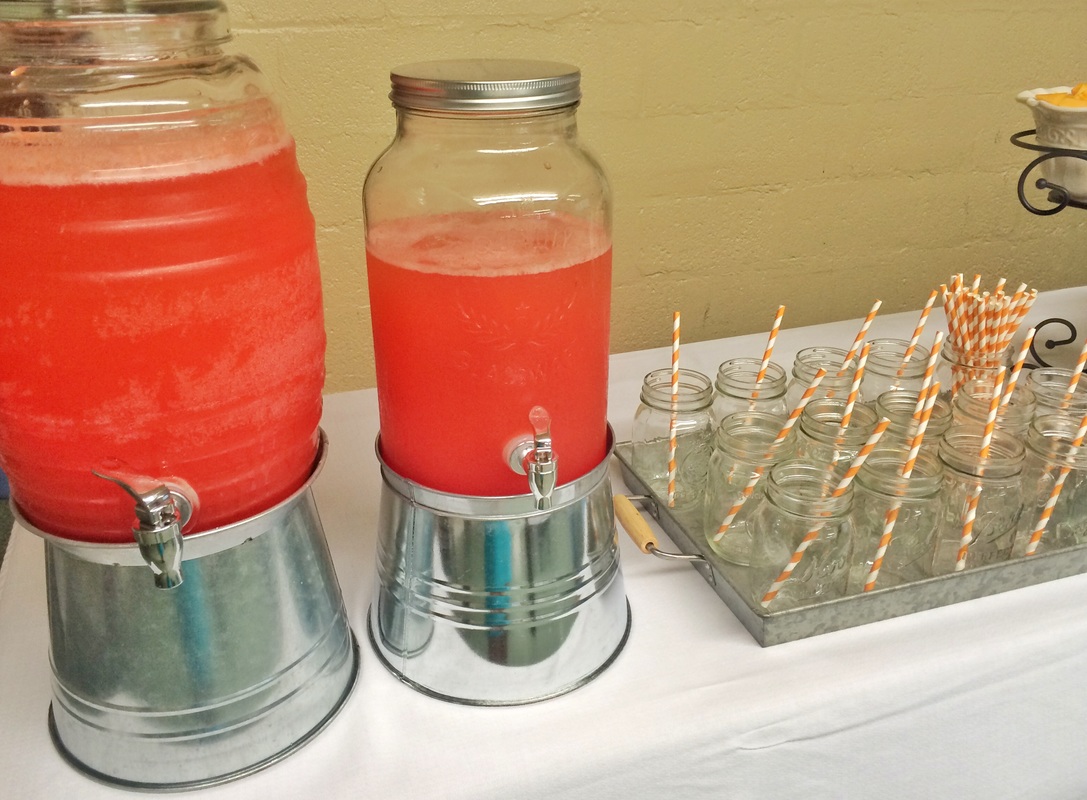 We used galvanized metal trays on each end of the buffet for the plates, napkins, and forks...and for the mason jars with orange-striped straws! 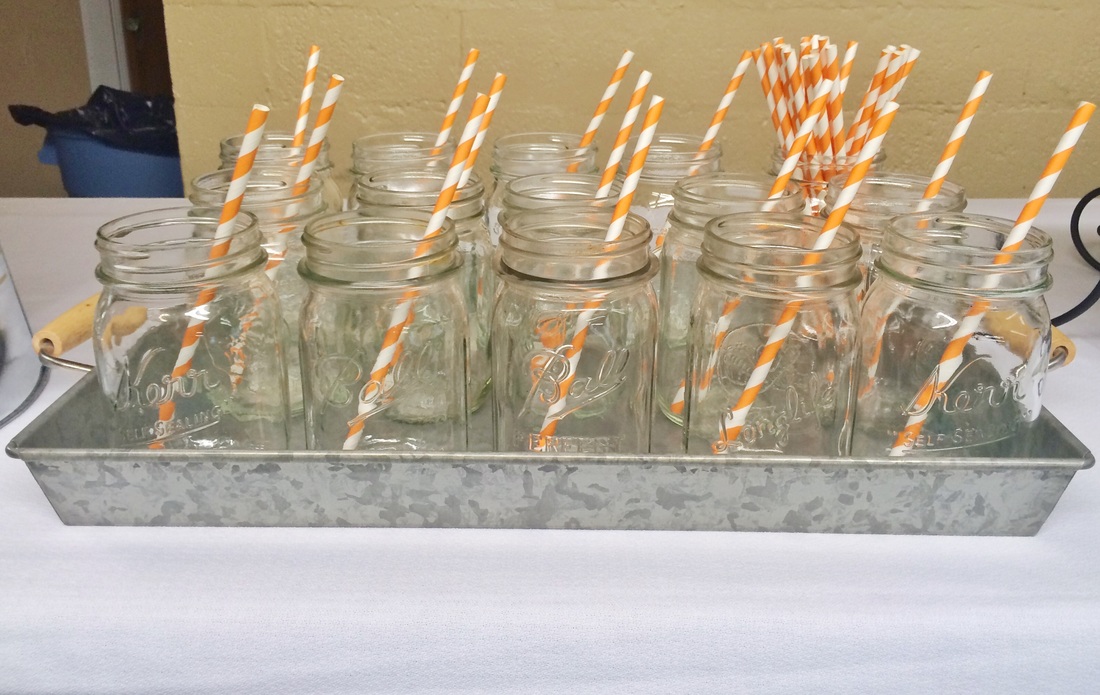 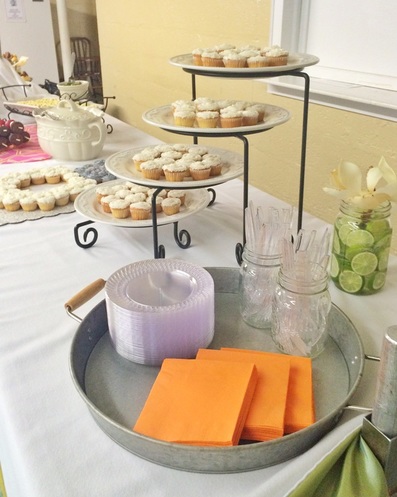 For the buffet, we also did two mason jars filled with sliced limes for a pop of the bright green color! These had magnolia blossoms in them as well. 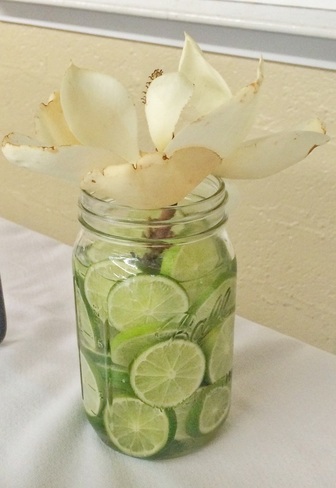 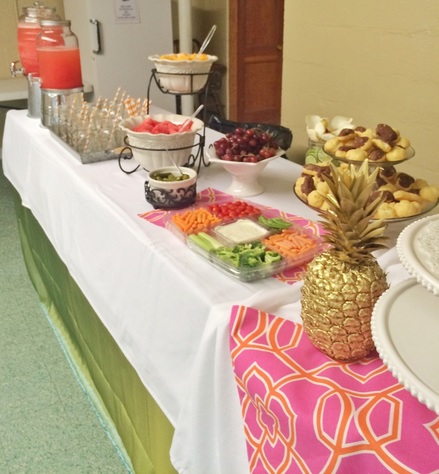 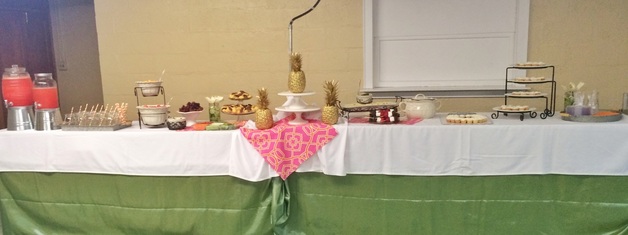 Another thing we did to decorate for the shower was a grouping of tissue pom poms, etc. hanging from the ceiling. A couple weeks before the shower, I made white twine globes and lace globes to hang. I made these using partially inflated balloons and papier mache. We bought tissue pom poms in white, pink, green, and orange to go with them. We hung them above the bride- and groom-to-be's seats for the shower. 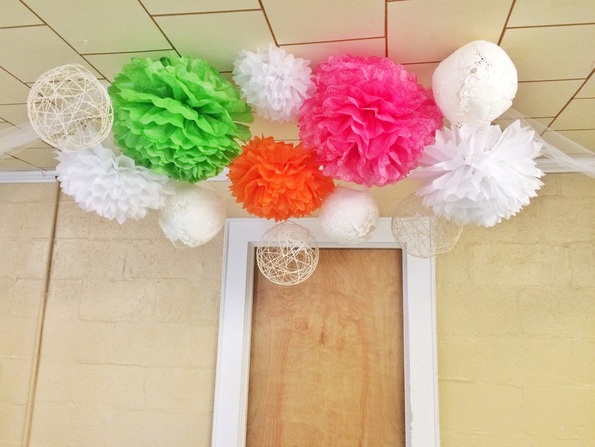 I also made a pennant banner to hang on the gift table, with gold pineapples! 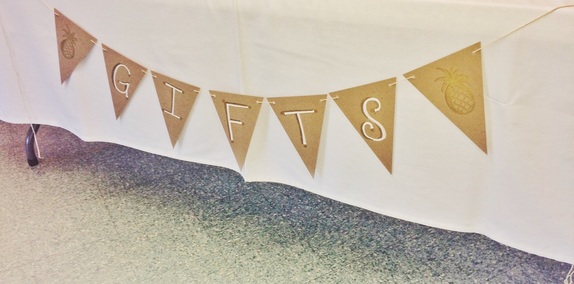 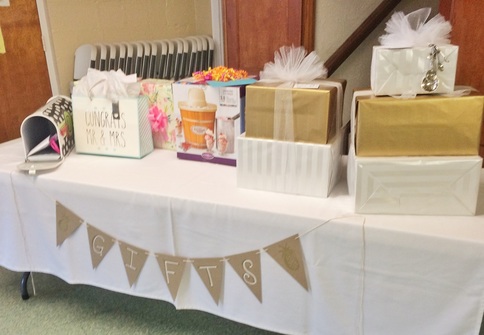 To welcome guests to the shower, I made a chalkboard. We placed it on an easel and tied balloons in the shower colors to the top! 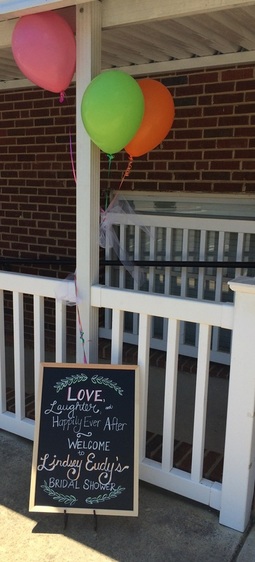 I decorated mason jars with handles for the bride- and groom-to-be...a bow for the Future Mrs. and a bow-tie for the Future Mr.! 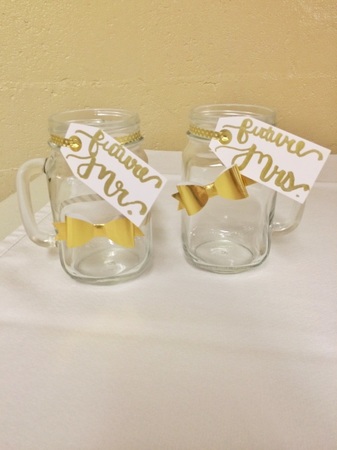 It ended up being a festive and fun-filled shower and we had a ball celebrating the beautiful bride-to-be!  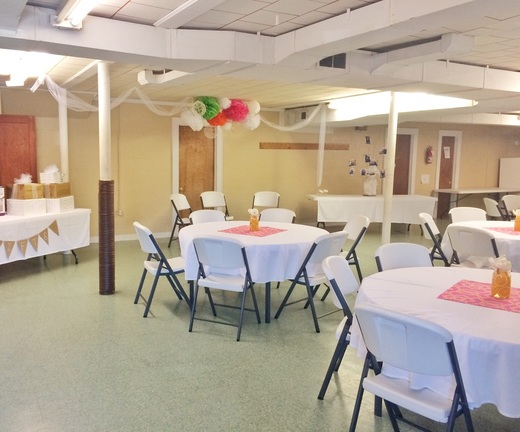  It's blueberry season!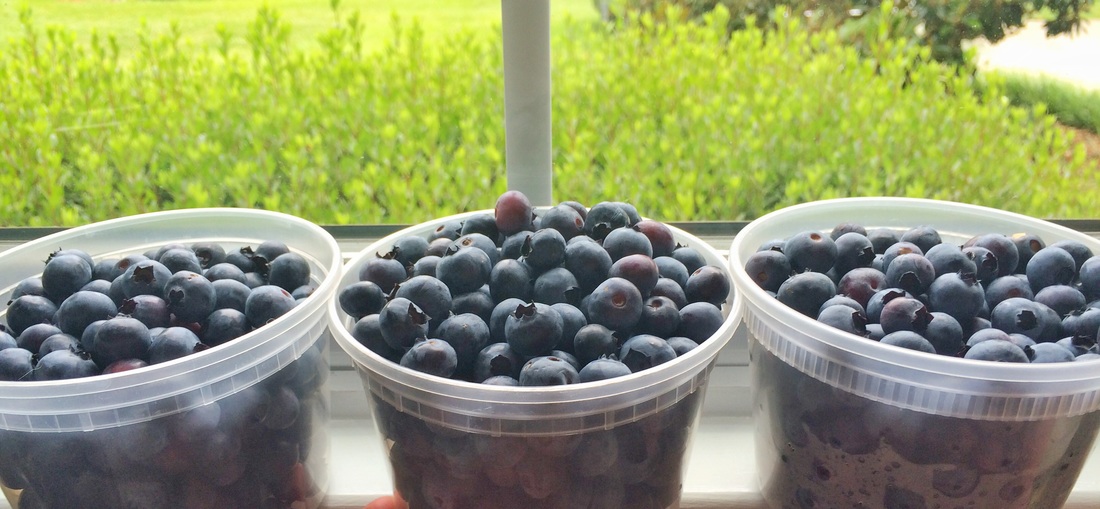 We've been picking fresh blueberries this summer and there have been a ton! With an abundance of delicious blueberries, we've made this awesome summertime treat, perfect for a dessert or even breakfast with coffee. It's called Blueberry Buckle! My mom, my friend, and I made it the other day and it turned out great. We got the recipe from a sweet lady who has been a family friend for a long time. It is so good, I thought I would document it and share!  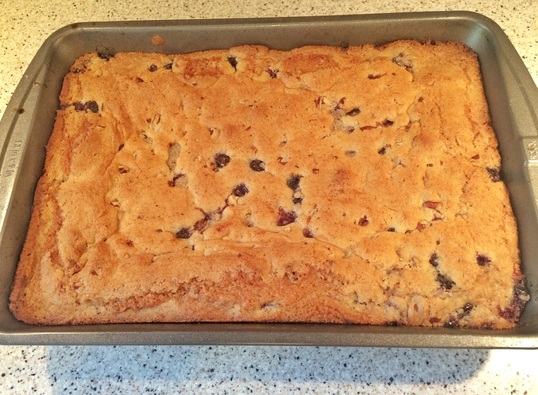 Here's the recipe! 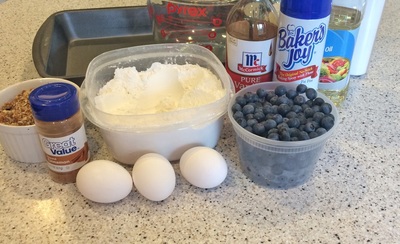 Ingredients: 2 cups self-rising flour 2 cups sugar 3 eggs, beaten 1 cup cooking oil 1 tsp. cinnamon 1 tsp. vanilla extract 1 cup chopped nuts (we used pecans) 2 cups blueberries (works great if they are fresh blueberries that have been frozen, the ingredients stick to them better) Directions: Reserve 1/4 cup flour to coat nuts and berries. Combine remaining 1 3/4 cups flour, sugar, and cinnamon. Make a well in the mixture. 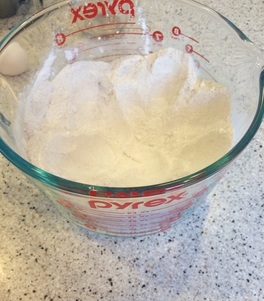 Add eggs, oil, and vanilla. 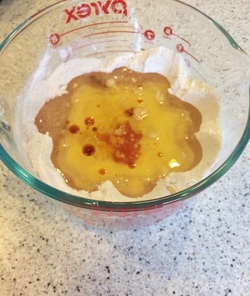 Beat with a spoon until thoroughly mixed. 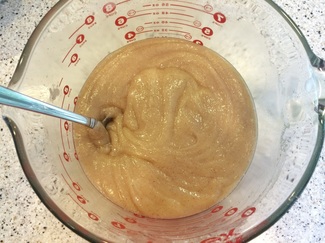 Coat nuts and berries with reserved flour. 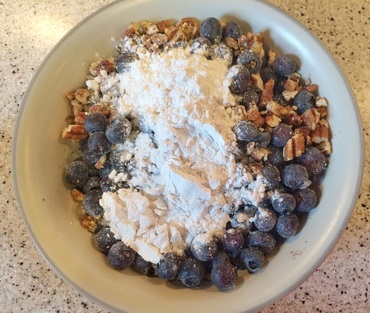 Fold into mixture. Pour into greased and floured 9x13 pan (the mixture will be very thick). 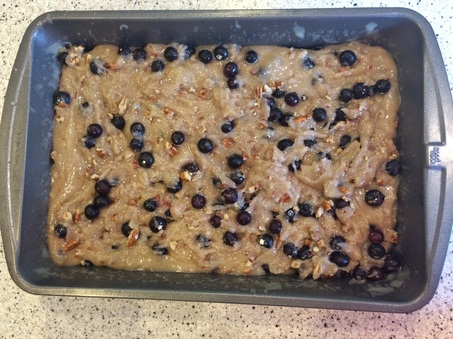 Bake at 350 degrees to 35-40 mins or until done. Enjoy! 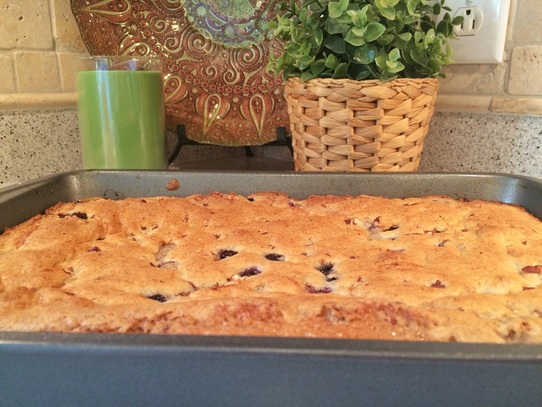 Light Pink!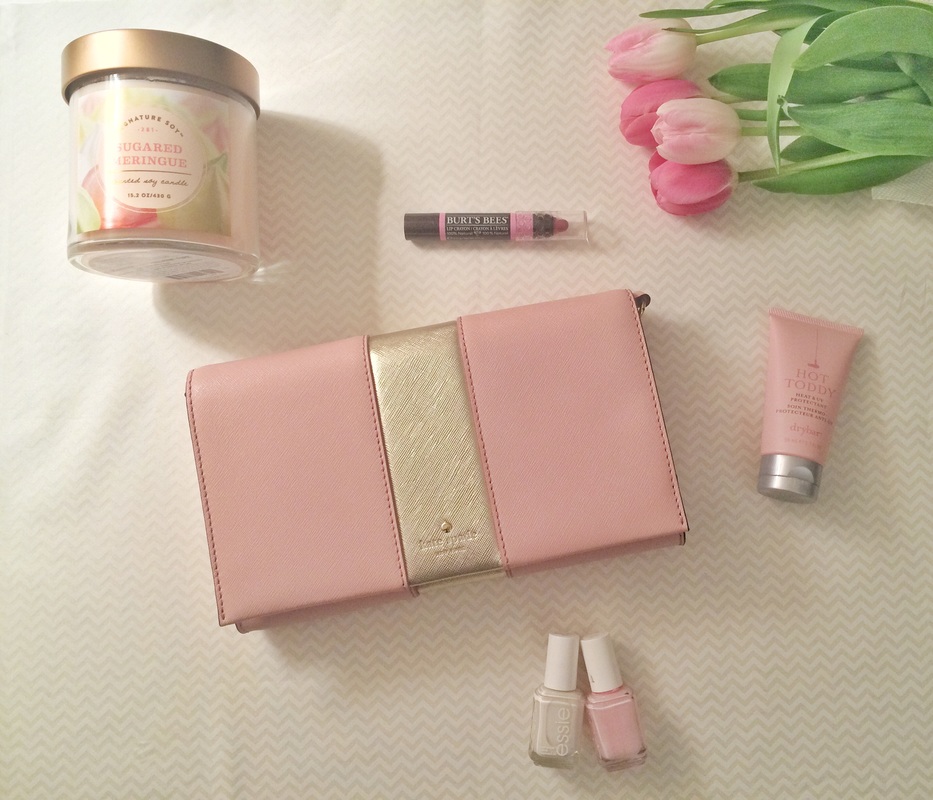 Here are some things I've found or been using recently that I really like! Signature Soy candle in "Sugared Meringue"// Similar here at Target// I found this candle at Target a few months ago and I absolutely love the scent! I haven't been able to find "Sugared Meringue" since then unfortunately, but they have several other scents that smell great. The link here is to "Island Coconut" in the same brand. Burt's Bees Lip Crayon in "Carolina Coast"// Find it here at Walgreen's// I've been trying several of the Burt's Bees lipsticks, etc. recently and really like them. I've enjoyed this lip crayon a lot...and of course the shade name is awesome! Kate Spade crossbody purse: Cedar Street Racing Stripe Cali// My in-laws gave me this adorable purse for Christmas and I have loved carrying it! It can be carried as a clutch or a cross body purse (the strap is inside). The soft pink and metallic gold goes great with so many outfits! Drybar "Hot Toddy"// Find it here at Sephora// This tiny bottle lasts a long time because it only takes a little amount...the one pictured here is the 1.7 oz. bottle. This is a heat and UV protectant for your hair. I apply a small amount to my hair when it is damp to protect it against the hair dryer and curling iron/straightener. Essie polish in "muchi muchi"// Find it here at Walgreen's// This is probably my favorite Essie polish I've ever used. This light pink color goes with so much! Essie polish in "marshmallow"// Find it here at Walgreen's// I really like this color in the Essie polish that I've recently tried. The marshmallow white goes great with everything and is great in the summer with a tan! American Flag Pallet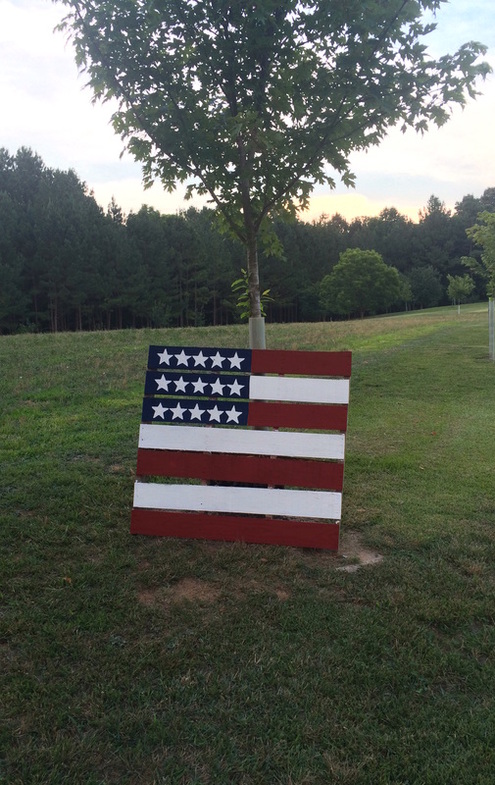 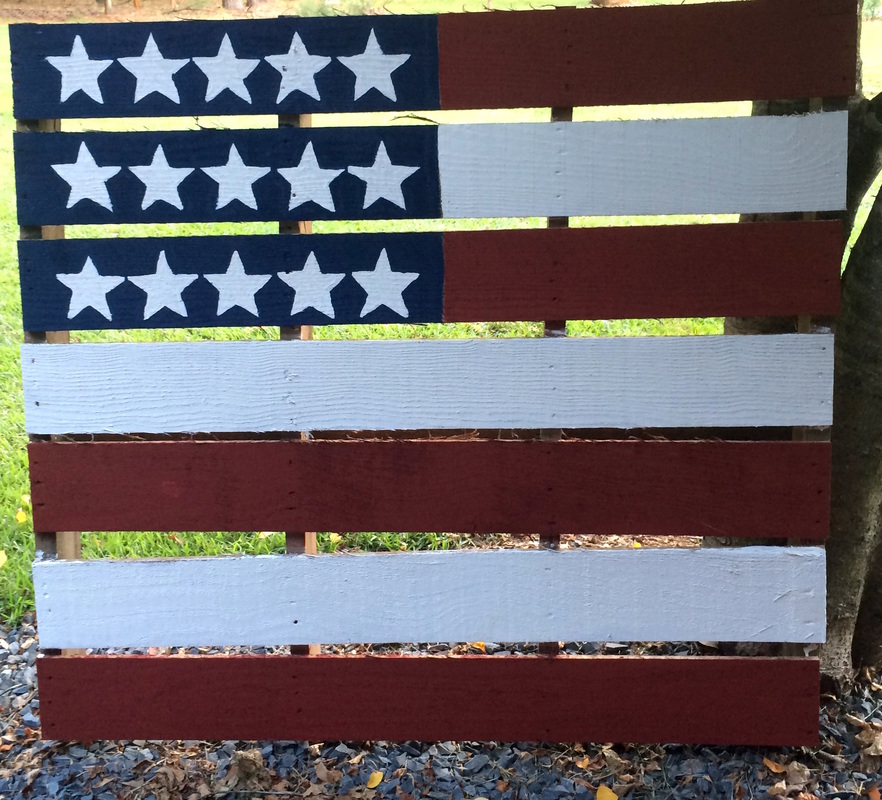 Hey y'all! It's been a while since I've posted on Grits and Pearls...I'm finally back on the blog and I have several things coming up to post! I've seen these pallet flags on Pinterest and have been wanting to make one since last summer. This week I finally did. It was a really fun project, fairly simple, and turned out to be a super cute decoration outside! 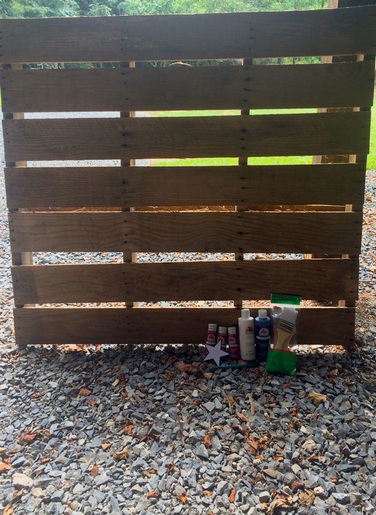 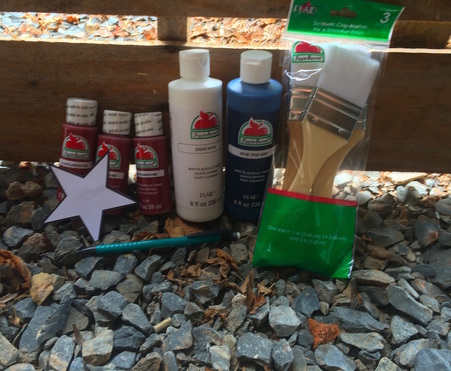 All you need for this project: A pallet (preferably one with wide boards and smaller gaps between the boards) Several paintbrushes (some tiny and some large) Navy blue acrylic paint White acrylic paint Deep red acrylic paint Cut-out of a star (I found one online, printed it off, and cut it out) Pencil First, I had the top board of the pallet cut off to make it more square. Then, use something with a straight edge to trace a line down the middle of the first three sections of boards (for the blue section of the flag). 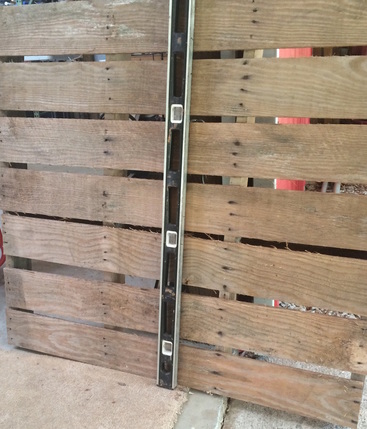 Next, trace all of your stars out on the pallet. *Note: you can paint the blue first and then the stars, but I painted the stars first so they would look a little more defined when I painted the blue. Then, paint an outline on each of the white stars. Next, fill in the white for the stars. Then paint a blue outline around each of the stars. Next, fill in the whole blue section. 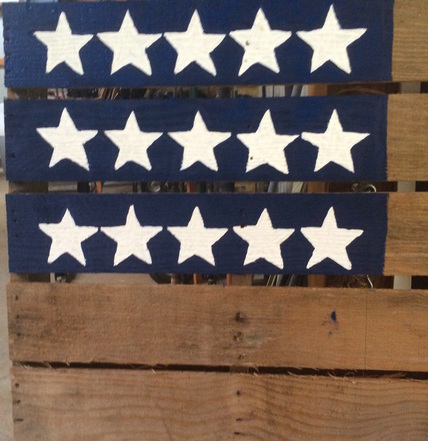 The rest is simple...paint the boards alternating red and white. I did a second coat on the stripes to make them stand out well. Let it dry and it's finished! 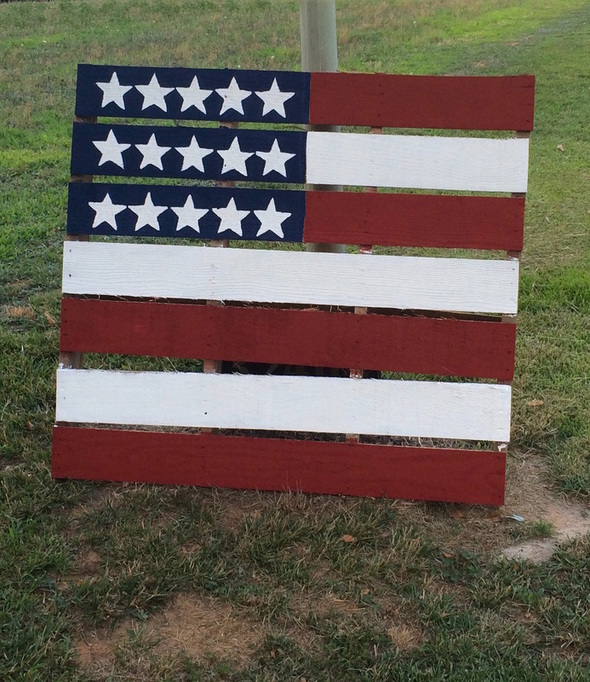 Happy Fourth of July! I hope everyone has a great one!"I believe with all my heart that standing up for America means standing up for the God who has so blessed our land." -Ronald Reagan
|
BLOG OF A...Southern Belle and Carolina girl who loves Jesus, family, and life below the Mason-Dixon line. A Fan of Southern hospitality, grits and biscuits, pearls and bow ties, cotton and magnolias, sunshine and sweet tea, and all things monogrammed! Archives
December 2016
Categories |


 RSS Feed
