Yum!!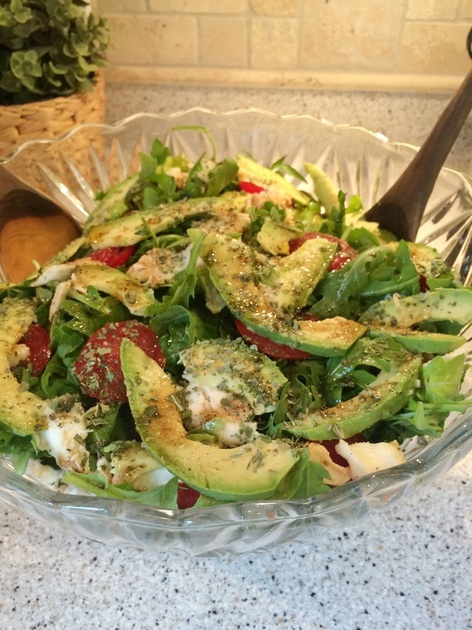 Here is a salad recipe I discovered on Pinterest and finally tried...and it is absolutely delicious, y'all! It's perfect for lunch or to pair with a dinner entree. I found the recipe from foodiecrush...you can find their site here. The original recipe makes one salad, but I multiplied it and here's the recipe I used to make a big salad to fill a small punchbowl! 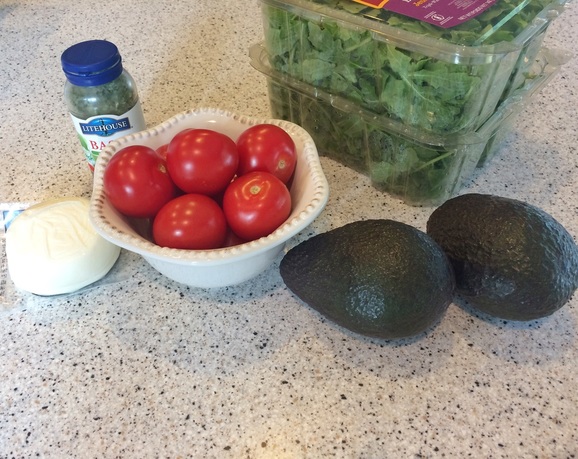 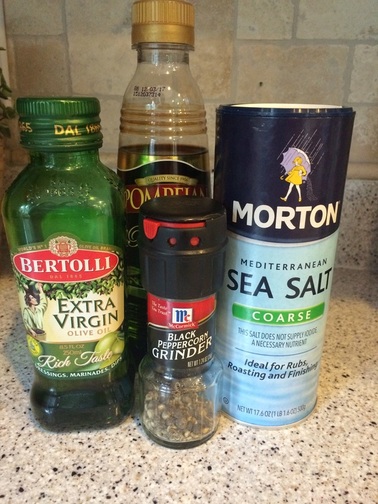 Ingredients 2 tubs of fresh arugula 8-10 campari tomatoes, sliced ~2 avocados, pitted and sliced 12-15 slices fresh mozzarella cheese fresh basil 4 Tbsp olive oil 6 tsp balsamic vinegar Salt (I used sea salt) and freshly ground black pepper, to taste *You can adjust the salad amounts to your taste and you can always double the dressing amounts if you need more Directions Place half of the arugula in a large bowl or punchbowl. 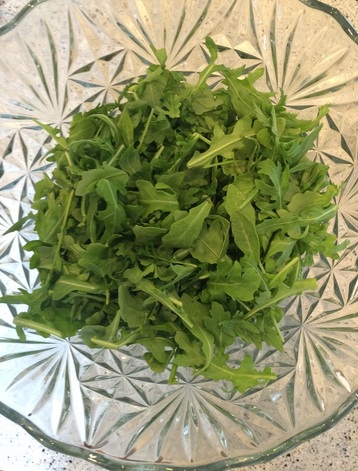 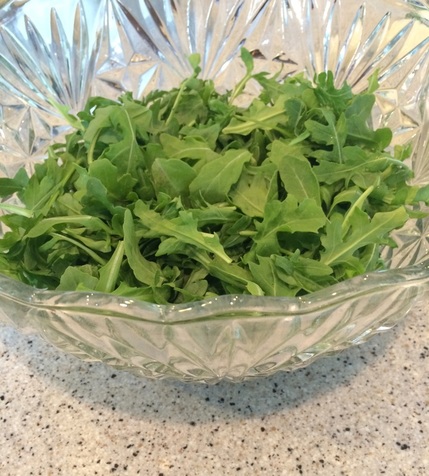 Add half of the sliced tomatoes to the arugula. 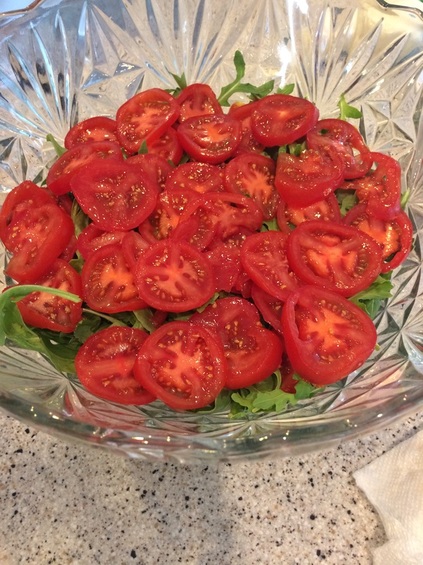 Add half of the fresh mozzarella slices. 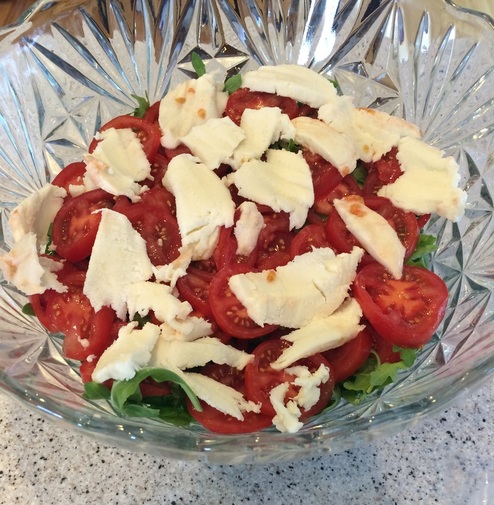 Sprinkle with shredded basil. Add half of the avocado slices. 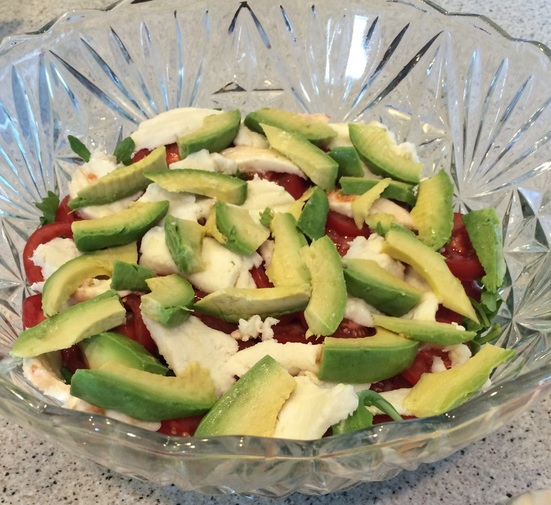 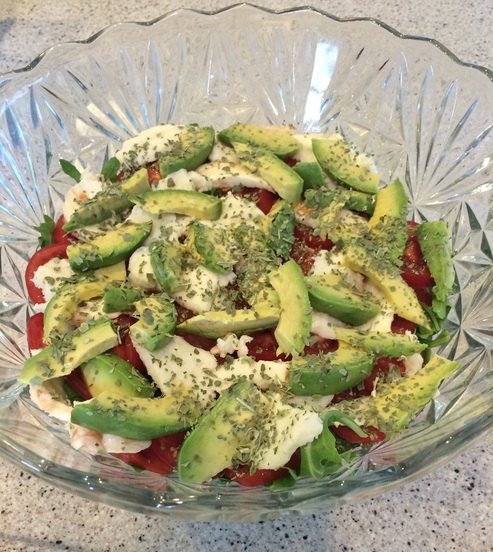 Repeat the layers again. Whisk olive oil, balsamic vinegar, salt, and pepper together in a bowl. 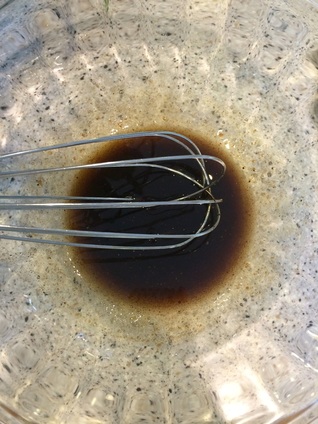 Pour the dressing over the salad and toss the salad to coat it evenly. 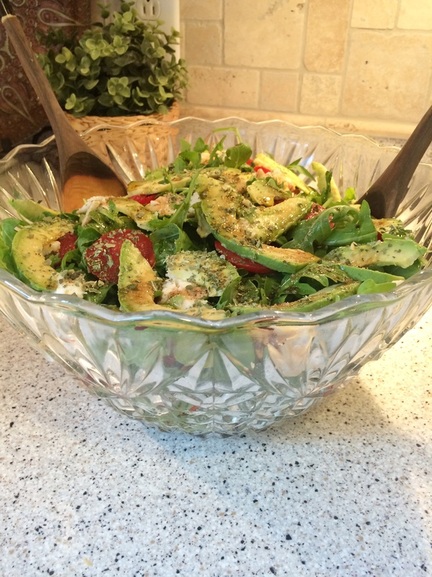 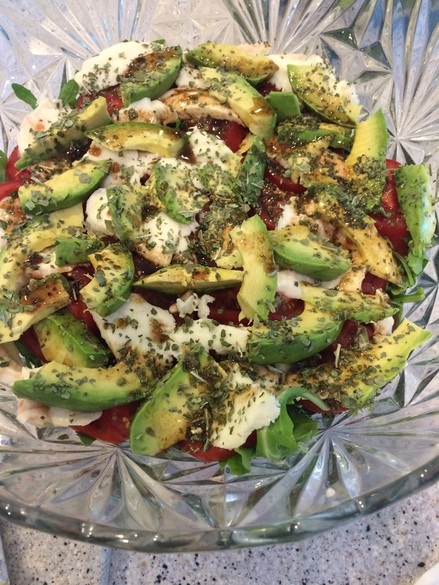 Serve and enjoy! 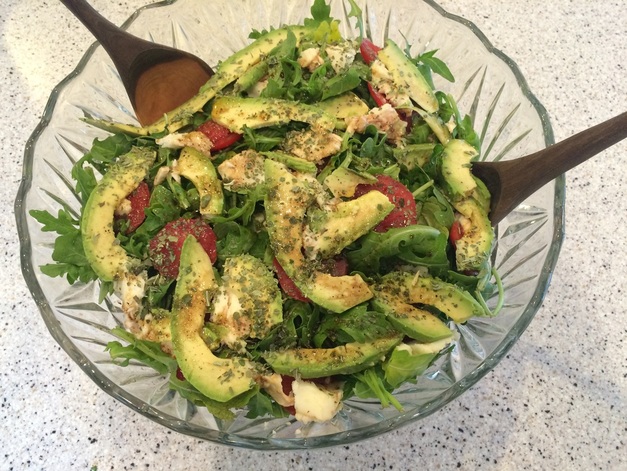
0 Comments
Bringing New Life to An Outdated Light Fixture!One of the projects I did this summer was updating a dining room light fixture. The brass finish was a bit outdated, so we removed the chandelier from the ceiling and I repainted it to an oil rubbed bronze look! 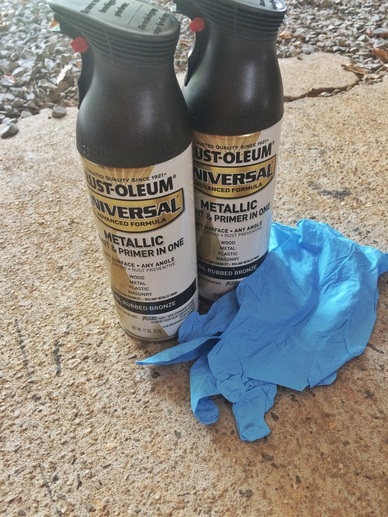 This required a well-ventilated area...a work shed or barn is great for this so it is under a cover but has a lot of air flow (and if excess paint sprays around). I used these two cans of spray paint, and had to use even a little more. Gloves and a dust mask were very helpful as well. 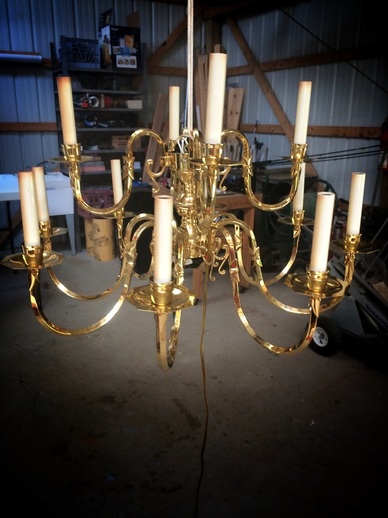 Hanging the chandelier by a rope from a beam was very helpful for being able to spray paint all angles of the fixture. We detached the bottom sphere on the chandelier, as well as the disk that goes against the ceiling and the chain. 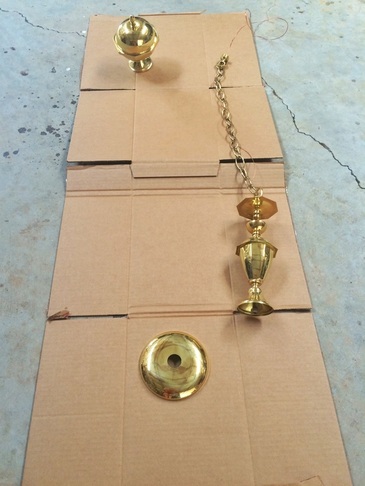 I put these on a piece of cardboard so I could spray paint them. I had to paint the chandelier and these extra pieces, let them dry for a little while, then go back and do extra coats. I flipped over the extra pieces to get the other sides coated in paint as well. 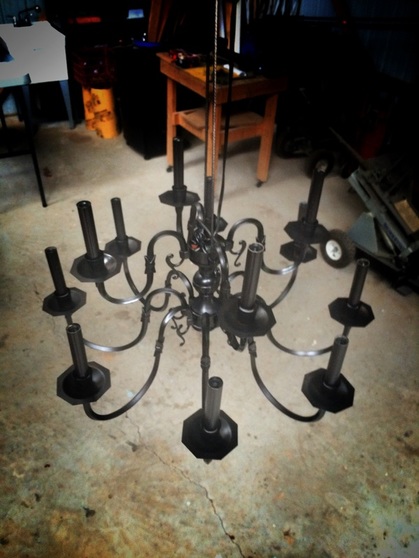 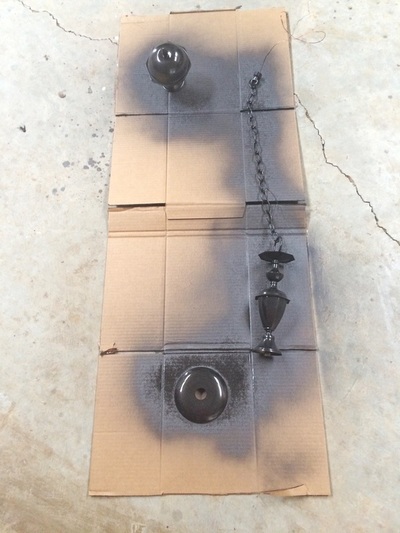 I left the light fixture to dry for a couple of days, then we put it back together and hung it back in the dining room. It looks great in the room and is updated! 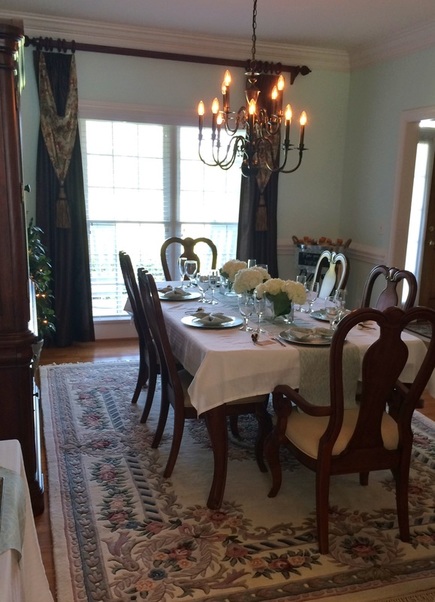  Beachy Door Decor!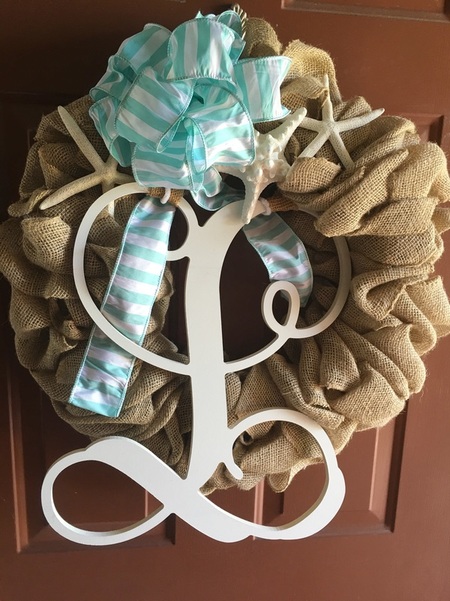 One of the little projects I did this summer was to make a new wreath for my aunt who lives near the beach in Florida! She wanted a burlap wreath with a pretty bow to put her white wooden "L" letter on...it was fun to make! 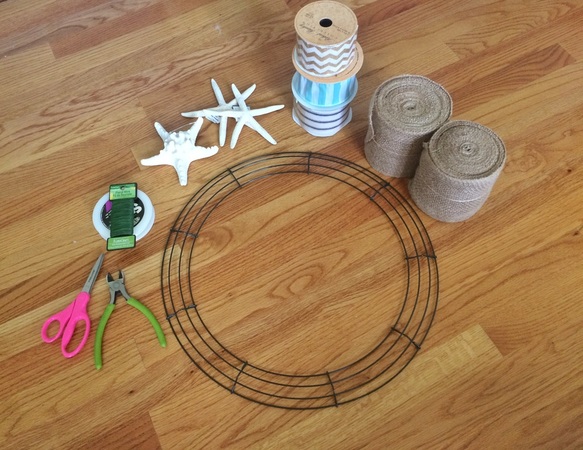 Above are the supplies I used. I had to learn how to make a burlap wreath on the wire frame. I started out using floral wire to anchor it but ended up discovering that pipe cleaners worked better. 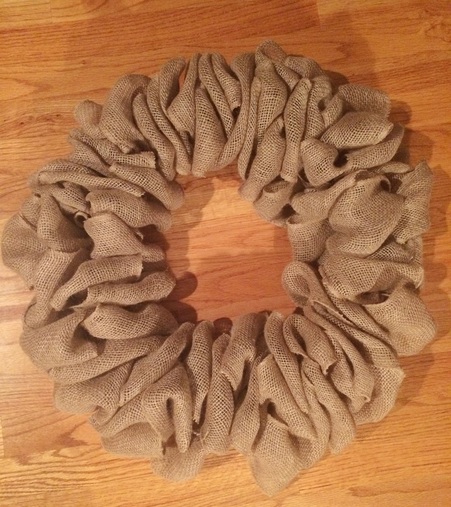 Once I finished the base of the burlap wreath, it was time to make a bow. 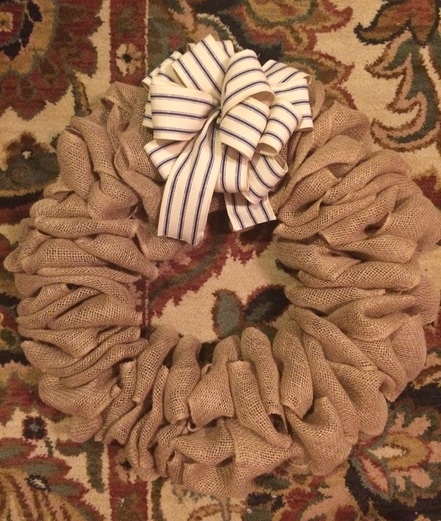 I wanted to give her options if she wanted to switch out the bow during the year, so I made three different bows that could be switched out on the wreath! The first one (above) was a linen one with navy stripes to look nautical! Next, I added these three starfish and anchored them in the wreath to add a neutral colored beachy look! 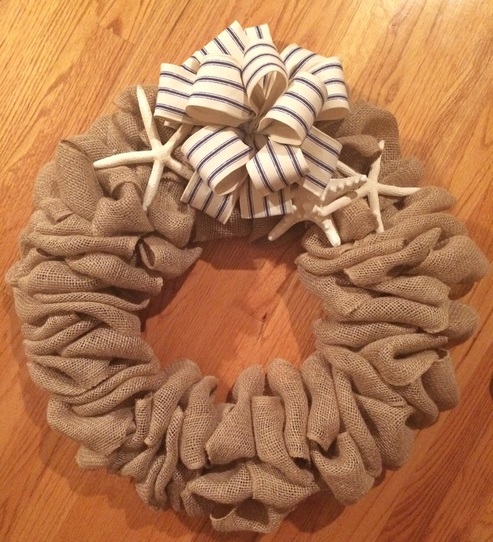 The second bow I made for the wreath was out of a pretty light linen and gold chevron ribbon. I loved it for everyday use...neutral colors but a little shine and fun! 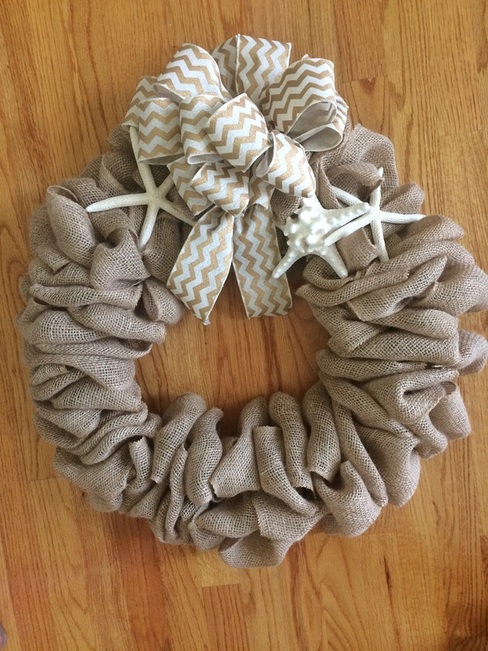 The third bow I made was out of a fun, bright aqua/mint colored stripe ribbon. The color had a great coastal feel with the starfish...and it went great with the white wooden letter she added! 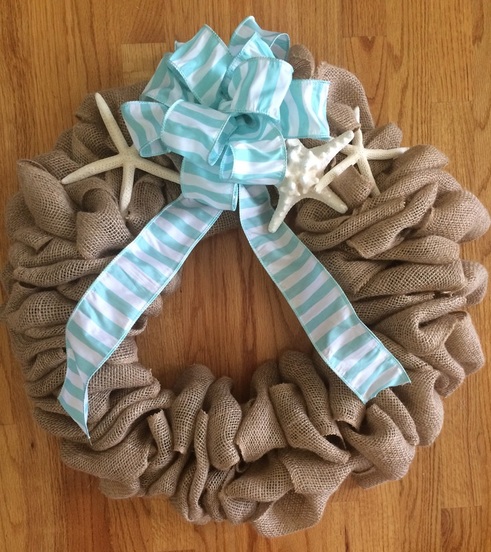 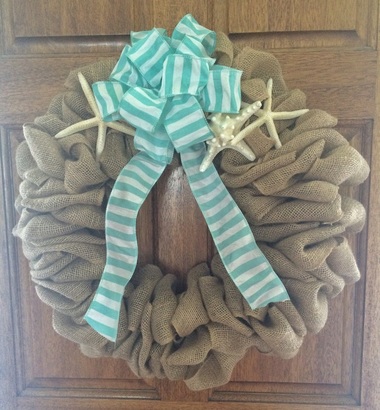 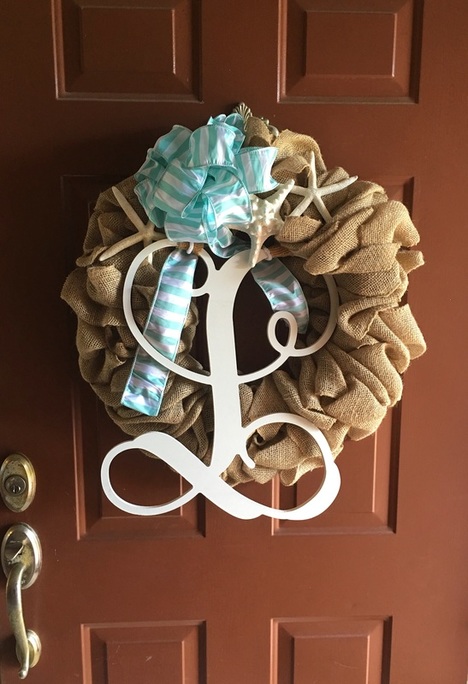 A Fun and Delicious Summer Recipe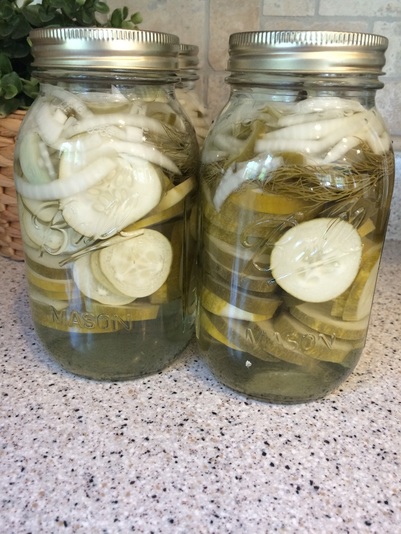 As summer comes to an end, I wanted to share this recipe to use fresh cucumbers, whether they're from your garden or from the store! A good family friend shared the recipe with me...it's a fun and fairly simple little project. My mom and I had fun making them one day this summer and the pickles ended up having a great flavor! Plus, pickles are my favorite food so I really enjoyed this! The original recipe calls to make one gallon jar of pickles, but we split up the ingredients between 4 quart-size mason jars. 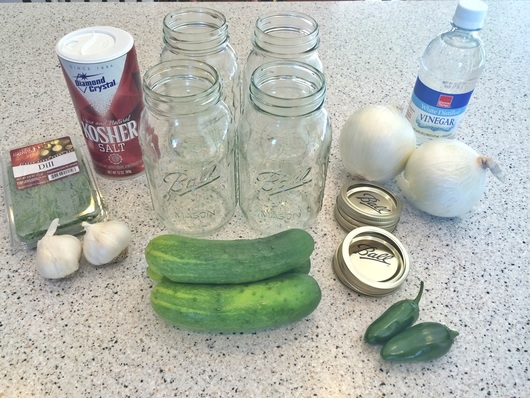 Ingredients Several cucumbers 2 small onions, sliced thin 1/2 head of dill 2-3 cloves garlic 2 jalapeno peppers, sliced thin 2 cups white vinegar 6 cups water 1/2 cup pickling salt (we couldn't find pickling salt but Diamond Crystal brand Kosher salt works well too) 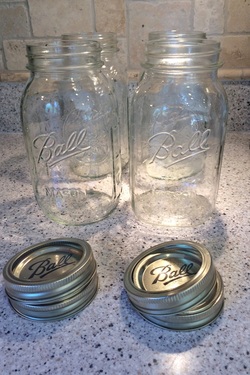 Directions Cut cucumbers 1/4" thick and put in the mason jars (fill 3/4 full). 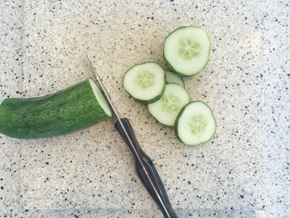 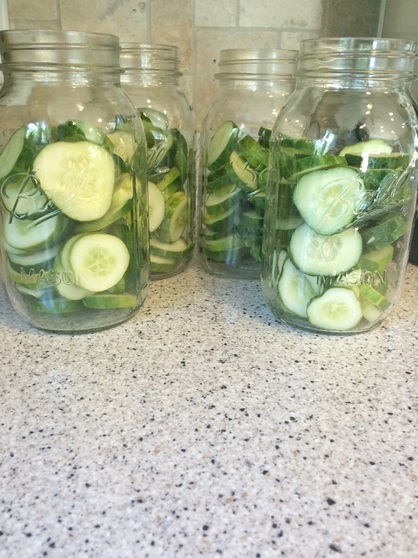 Place dill in the mason jars.  Cut garlic cloves into pieces. Place the pieces in the mason jars. 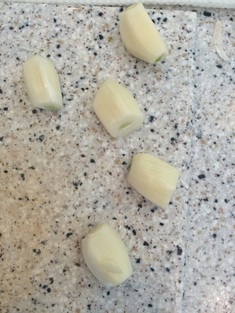 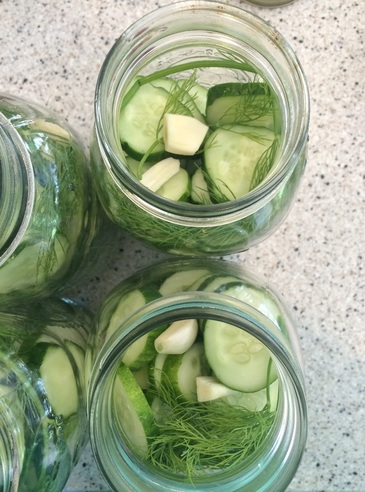 Place thinly sliced onions in the mason jars. 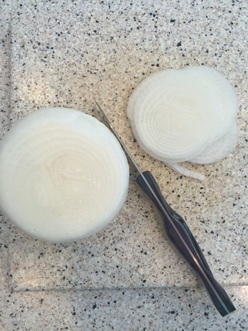 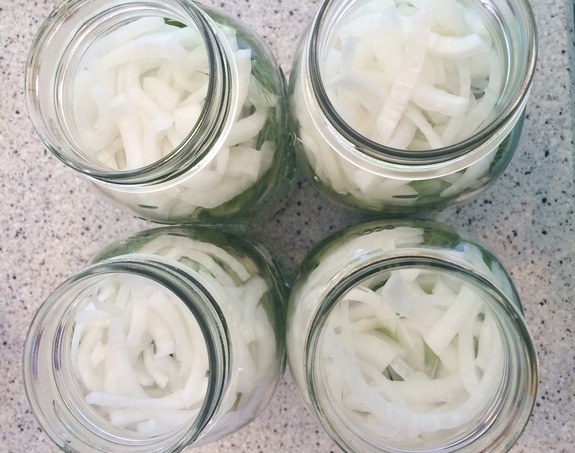 Place thinly sliced jalapeños in the mason jars. 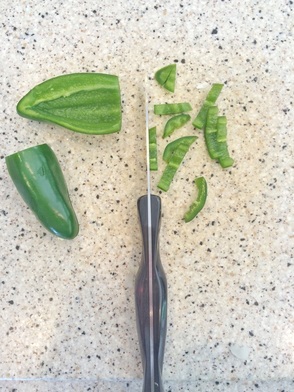 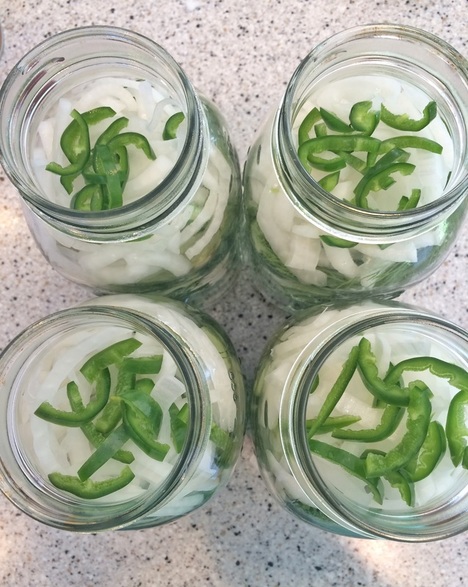 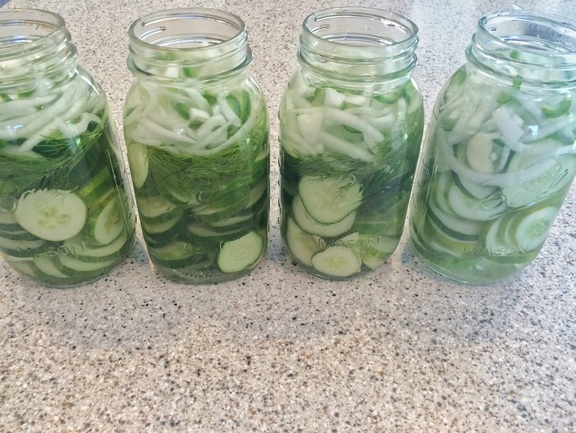 Mix the white vinegar, water, and salt together. Pour the mixture over top of the other ingredients in the jars.  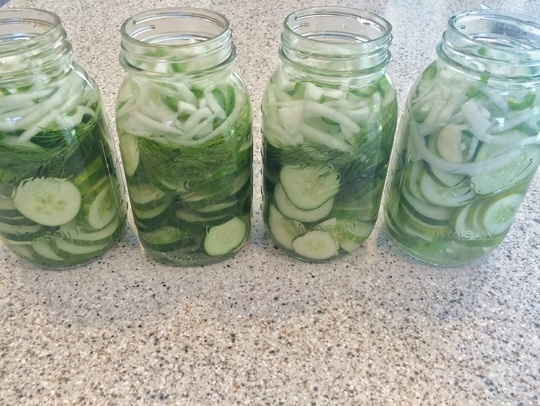 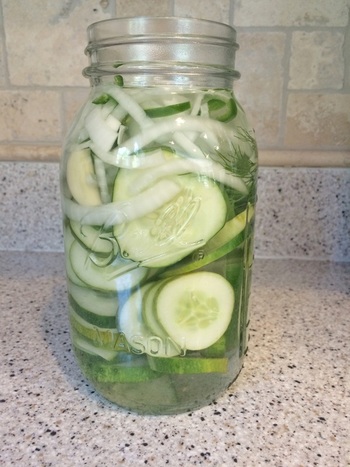 Cover loosely with the lids. Set the jars out in the sun for 2 days. 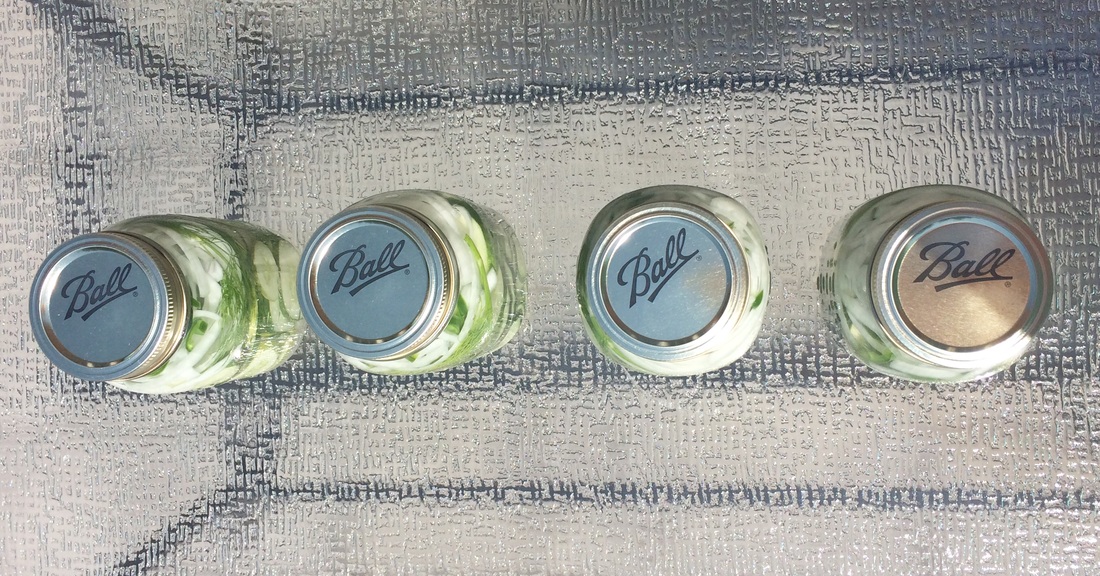 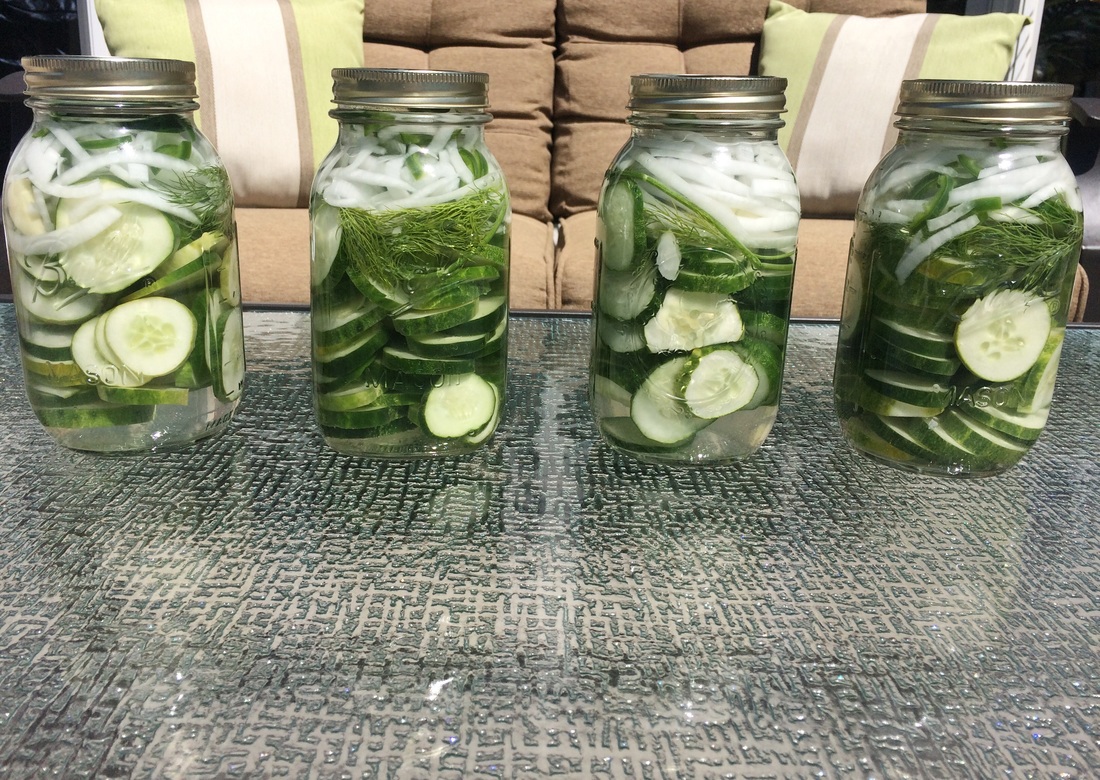 Then, store them in the refrigerator. Enjoy!
|
BLOG OF A...Southern Belle and Carolina girl who loves Jesus, family, and life below the Mason-Dixon line. A Fan of Southern hospitality, grits and biscuits, pearls and bow ties, cotton and magnolias, sunshine and sweet tea, and all things monogrammed! Archives
December 2016
Categories |

 RSS Feed
